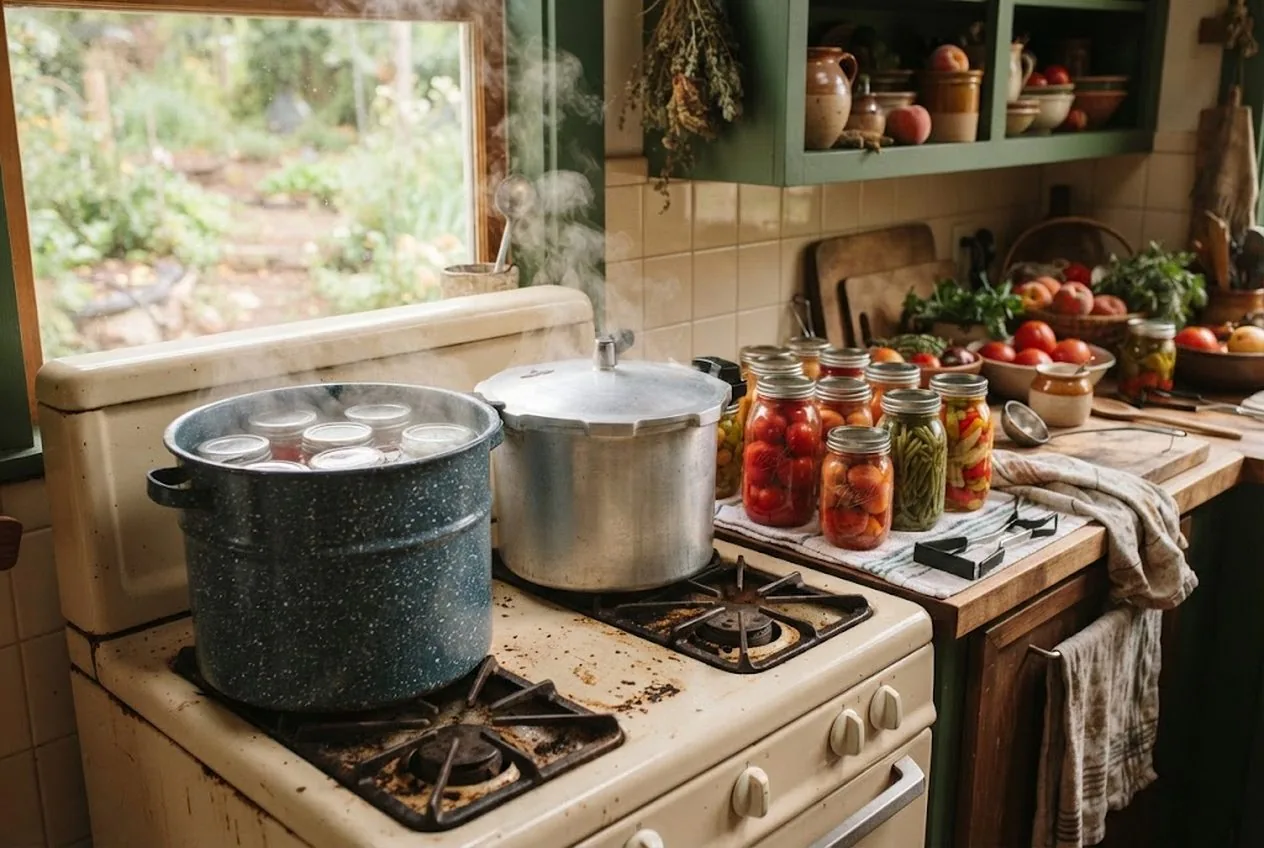
Every new canner hits the same fork in the road: two big pots that look like they do the same job, and a lot of conflicting advice about which one you need. The choice between water-bath and pressure canning feels like a preference — it isn’t. It’s a food-safety decision made for you by the chemistry of what you’re preserving.
Here it is in one sentence: the acidity of your food decides the method, not the other way around. High-acid foods get a water bath; low-acid foods require a pressure canner, and no amount of extra boiling time can substitute one for the other.
The rest of this article shows exactly where the line falls, what each setup costs, and how to pick the right first canner for the harvest you actually grow.
The Only Thing That Really Separates Them: Temperature
Both methods do the same job — heat sealed jars hot enough, long enough, to make food shelf-stable. They just reach different temperatures, and that gap is everything.
- Water-bath canning boils jars in an open pot of water at 212°F (at sea level). That’s the hottest water alone can get. It’s enough to safely process high-acid foods, where the acidity itself blocks the growth of dangerous bacteria.
- Pressure canning traps steam under pressure inside a sealed canner to reach about 240°F; at sea level, a gauge pressure of 10.5 psi gives 240°F (NCHFP). That higher temperature is the only home method that destroys the heat-resistant spores of Clostridium botulinum, the bacterium behind botulism, which can survive boiling and thrive in a sealed, low-acid jar.
The dividing line is a pH of 4.6. At or below it, a food is high-acid and boiling water makes it safe. Above it, the food is low-acid, and it must be processed at 240°F to 250°F in a pressure canner (NCHFP). This is the same acid logic we cover in our water-bath canning the summer harvest beginner’s guide — here we’re using it to choose your equipment.
Which Foods Go in Which Canner
Match your harvest to the method before you buy anything:
| Your harvest | Acidity | Method |
|---|---|---|
| Fruit, peaches, applesauce, berries | High-acid | Water bath |
| Jams, jellies, fruit butters | High-acid | Water bath |
| Pickles, relishes, anything vinegar-brined | High-acid | Water bath |
| Tomatoes (with added lemon juice/citric acid) | Acidified | Water bath |
| Salsa (tested recipe) | Acidified | Water bath |
| Green beans, corn, carrots, potatoes | Low-acid | Pressure canner |
| Beans, peas, plain vegetables | Low-acid | Pressure canner |
| Meat, poultry, seafood | Low-acid | Pressure canner |
| Soups, stews, stocks, chili | Low-acid | Pressure canner |
The pattern is easy to remember: if it’s sweet, sour, or brined in vinegar, it’s a water bath. If it’s a plain vegetable, a bean, or a meat, it’s the pressure canner. There is no safe way to water-bath can that bottom half of the table, no matter how long you boil it. (Tomatoes are the classic borderline case — our step-by-step guide to water-bath canning tomatoes covers the acidification that keeps them safely in the water-bath column.)
Side-by-Side: The Two Canners Compared
| Water-Bath Canner | Pressure Canner | |
|---|---|---|
| Safe for | High-acid foods only | Low-acid foods, plus high-acid foods with a tested pressure process |
| Temperature reached | 212°F (boiling) | ~240°F (10.5 psi at sea level) |
| What it looks like | Tall pot with a rack | Heavy pot with a locking lid and gauge |
| Difficulty | Beginner-friendly | A few more steps to learn |
| Typical price | $ | $$ |
| Weight | Light | Heavy |
| Can it replace the other? | No — high-acid only | Largely — where a tested pressure process exists |
Notice the last row. A pressure canner can also process high-acid foods that have a tested pressure process (NCHFP’s tomato directions cover both methods (NCHFP)), but a water-bath canner can never safely do a low-acid food. That asymmetry drives the buying decision below.
When to Reach for the Water-Bath Canner
Start here if your preserving revolves around the sweet and sour side of the garden. A water-bath canning starter kit (Amazon) is inexpensive, light enough to lift full, and forgiving to learn — there’s no pressure to monitor, just a steady rolling boil and a timer.
Disclosure: the product links here are affiliate links, so we may earn a commission if you buy through them at no cost to you. Our recommendations follow long-standing USDA and university-extension canning safety guidance, not brand marketing.
It’s also the gentler heat. Delicate fruit, pickles you want to stay crisp, and soft jams all hold their texture better at a boil than under 240°F of pressure. Even canners who own both reach for the water bath when the food is high-acid, precisely because the milder process protects quality.
When You Need the Pressure Canner
The moment your harvest includes plain vegetables, beans, or meat, the decision is made for you. A pressure canner (Amazon) is the only recommended home method for these low-acid foods, full stop (CDC). It’s a bigger investment and asks you to learn a routine — venting the canner for 10 minutes, bringing it to pressure, holding the gauge steady, and letting it cool naturally rather than force-cooling it (NCHFP) — but that routine becomes second nature with practice.
One safety note worth repeating: a pressure canner is not a pressure cooker or an electric multicooker. Those smaller appliances — even ones with a “canning” button — are not recommended for canning because no USDA thermal process work has been done with jars inside them (NCHFP). Use a canner built and rated for the job.
Pressure canning is also the backbone of preserving without refrigeration, which is why it features heavily in our guide to off-grid food storage without a fridge or generator — you can run one over an outdoor gas burner when the power’s out, kept to 12,000 BTUs or less (10,000 optimal) so the canner doesn’t warp (Clemson Cooperative Extension).
So Which Should You Buy First?
Let your harvest — and your honest ambitions — decide:
- Buy the water-bath kit first if you mainly grow fruit or want to make jam, pickles, and salsa. It’s cheaper, lighter, and covers the whole high-acid world with the least fuss.
- Buy the pressure canner first if you plan to put up green beans, corn, meat, or soups. Since it can also cover high-acid foods that have tested pressure processes, it’s the smarter single purchase for anyone serious about a full pantry — you simply grow into it.
- Own both eventually and you get the best of each: the pressure canner for low-acid staples, the water bath for delicate high-acid batches you want to keep crisp and bright.
Whichever route you take, canning is one of the highest-return skills in a self-reliant kitchen — it turns a chaotic August harvest into a year of shelf-stable meals. Pair it with the no-power techniques in our food preservation without electricity guide, and you build a pantry that carries you through a lean winter or a grid-down stretch regardless of what’s in the freezer.
Frequently Asked Questions
- What's the actual difference between water-bath and pressure canning?
- Temperature. A water-bath canner boils jars in open water at 212°F, which is safe only for high-acid foods. A pressure canner seals steam under pressure to reach about 240°F, the temperature low-acid foods need to destroy botulism spores, per the National Center for Home Food Preservation. The acidity of the food, not your preference, decides which one you must use.
- Can I use a pressure canner for high-acid foods like jam and pickles?
- Only when a tested recipe gives a pressure process for that food; NCHFP's tomato directions, for example, cover both pressure and boiling-water processing. For jams, fruit, and pickles, a simple water bath gives better results with less equipment. Save the pressure canner for the low-acid foods that truly need it.
- Is a pressure canner the same as a pressure cooker or an Instant Pot?
- No, and this matters for safety. A pressure canner is a large, heavy vessel built and tested to hold a specific pressure long enough to safely process low-acid jars. The National Center for Home Food Preservation does not recommend its canning processes for electric multicookers, including models with a 'canning' button, because no USDA thermal process work has been done with jars inside them. Use a canner designed and rated for the job.
- Do I need both a water-bath and a pressure canner?
- Eventually, many home canners own both, but you don't have to start there. A pressure canner can also handle high-acid foods that have a tested pressure process, so if you only buy one and plan to preserve low-acid vegetables and meats, buy the pressure canner. If you only want jam, fruit, and pickles, a water-bath kit is cheaper and all you need.
- Which method is safer for a beginner?
- Both are safe when you follow a tested recipe — they simply cover different foods. Water-bath canning is a gentler learning curve because there's no pressure to manage, which is why most people start there with high-acid foods. Pressure canning has more steps and a gauge to watch, but it's safe when you follow tested procedures, and the CDC calls it the only recommended way to can low-acid foods at home.
Sources & references
- National Center for Home Food Preservation, Ensuring Safe Canned Foods (opens in new tab)
- National Center for Home Food Preservation, How to Use Boiling Water and Pressure Canners (opens in new tab)
- National Center for Home Food Preservation, Can I Can in a Multi-Cooker? (opens in new tab)
- National Center for Home Food Preservation, Tomato Acidification Directions (opens in new tab)
- CDC, Home-Canned Foods and Botulism (opens in new tab)
- Clemson Cooperative Extension HGIC, Pressure Canning Outdoors (opens in new tab)
Before you go
The Renter's Homestead Pack
Self-reliance projects for the yard you don't own — container yields, a raised bed built to move with you, balcony preservation basics, and the landlord questions to ask first.
Free guide
The Renter's Homestead Pack
Self-reliance projects for the yard you don't own — container yields, a raised bed built to move with you, balcony preservation basics, and the landlord questions to ask first.