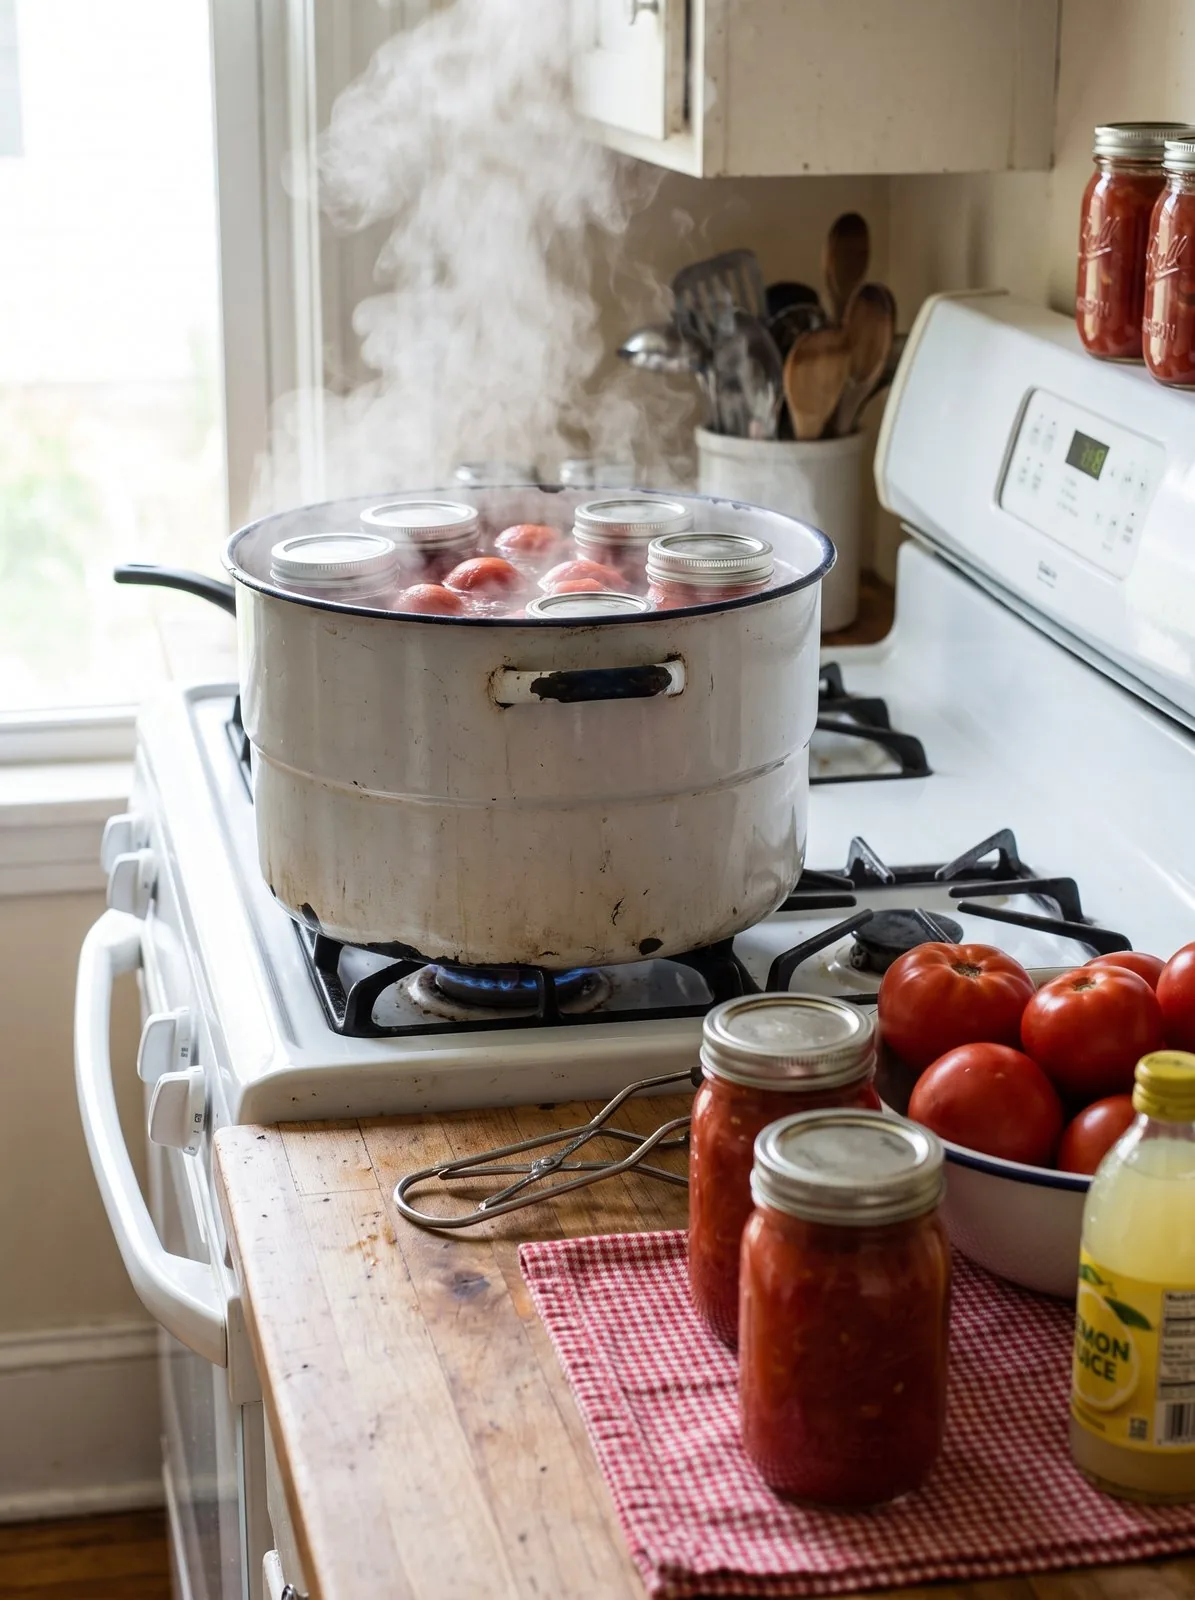
Late summer is when the tomatoes stop being a trickle and become a flood — the whole plant seems to ripen in the same week, and there is only so much you can eat fresh. Water-bath canning is how you turn that glut into a pantry full of jars that keep for a year, no freezer or refrigeration required. It is the friendliest entry point into canning, and tomatoes are the classic first project.
Here is the one thing you must take away before anything else: you have to acidify tomatoes. Add 2 tablespoons of bottled lemon juice per quart (1 tablespoon per pint), or ½ teaspoon of citric acid per quart, to every jar — no matter how acidic the tomatoes taste (NCHFP). Some tomatoes have pH values slightly above the level needed to can safely by the boiling-water method, and that added acid is what makes water-bath canning safe against the bacteria that cause botulism. Everything else in this guide is technique; that rule is safety.
The method is genuinely simple once the safety logic clicks. Let us walk through it.
Why Tomatoes Need Added Acid
Water-bath canning only works for high-acid foods (pH 4.6 or below). The boiling-water temperature is enough to make high-acid foods shelf-stable, but not enough to kill the spores that thrive in low-acid environments — those require a pressure canner. Tomatoes are the awkward middle child: usually considered acid, but some are now known to have pH values slightly above 4.6 (NCHFP).
Adding bottled lemon juice or citric acid pushes every jar safely into high-acid territory, which is what lets you use the simple water-bath method at all. Use bottled lemon juice rather than fresh, because bottled juice has a standardized, reliable acidity — fresh lemons vary too much to trust for food safety. It is a tiny step that takes ten seconds per jar, and it is the reason this is safe.
What You’ll Need
- A water-bath canning starter kit (Amazon) — a large pot with a rack, jar lifter, funnel, and bubble tool, everything a beginner needs in one box
- Wide-mouth Mason jars (Amazon) with new two-piece lids (bands can be reused; flat lids should be new each time) (NCHFP)
- Bottled lemon juice or citric acid — the acid, one per jar
- A large pot for blanching, a bowl of ice water, and a ladle
- Fresh, ripe, unblemished tomatoes (about 3 pounds per quart jar) (NCHFP)
Step-by-Step: Water-Bath Canning Tomatoes
Step 1: Prep Your Jars and Canner
Wash jars, lids, and bands in hot soapy water and rinse well. Fill the canner and set it to heat, and keep the clean jars hot — sitting in simmering water or a warm oven — so they do not crack when you add hot food. Jars processed 10 minutes or longer do not need separate sterilizing; the processing does it.
Step 2: Peel and Pack the Tomatoes
Drop tomatoes into boiling water for 30–60 seconds, then straight into ice water. The skins will slip right off. Core them and leave whole, halved, or quartered. Pack them into the hot jars — either raw pack (raw tomatoes pressed to fill with their own juice) or hot pack (simmered briefly first, which reduces air and floating). Press gently so the tomatoes release juice and fill gaps, topping up with their juice or hot water as needed.
Step 3: Add the Acid to Every Jar
This is the step you never skip. To each jar add:
- Quart jar: 2 tablespoons bottled lemon juice, or ½ teaspoon citric acid
- Pint jar: 1 tablespoon bottled lemon juice, or ¼ teaspoon citric acid
These amounts follow the National Center for Home Food Preservation (NCHFP). Add ½ teaspoon of salt per pint for flavor if you like — salt is optional and does nothing for safety. If browning at the top of the jar bothers you, a pinch of ascorbic acid powder (Amazon) helps preserve color, but it is cosmetic, not a substitute for the lemon juice or citric acid.
Step 4: Headspace and Bubbles
Leave ½ inch of headspace — the gap from the top of the food and liquid to the rim. Run the bubble tool or a plastic knife around the inside of the jar to release trapped air pockets, then re-check the headspace and top up with liquid if it dropped. Trapped air and wrong headspace are the two most common reasons a jar fails to seal.
Step 5: Wipe, Lid, and Load
Wipe each rim with a clean damp cloth — a single seed or smear of juice can ruin the seal. Center a new flat lid and screw the band down to fingertip tight (snug, not cranked; air needs to escape during processing). Lower the jars onto the rack so they sit under at least 1 inch of water, and at least 2 inches for process times over 30 minutes, which includes every tomato pack here (NCHFP).
Step 6: Process, Cool, and Check Seals
Bring the canner to a full rolling boil, and only then start the timer. Process for the time your tested recipe specifies for your jar size, pack style, and altitude — for whole or halved tomatoes packed in water, 40 minutes for pints and 45 minutes for quarts at 0–1,000 feet; packed raw without added liquid, 85 minutes for pints or quarts, with added time at higher elevations (NCHFP, NCHFP). Do not guess the time; use a current tested recipe and altitude chart.
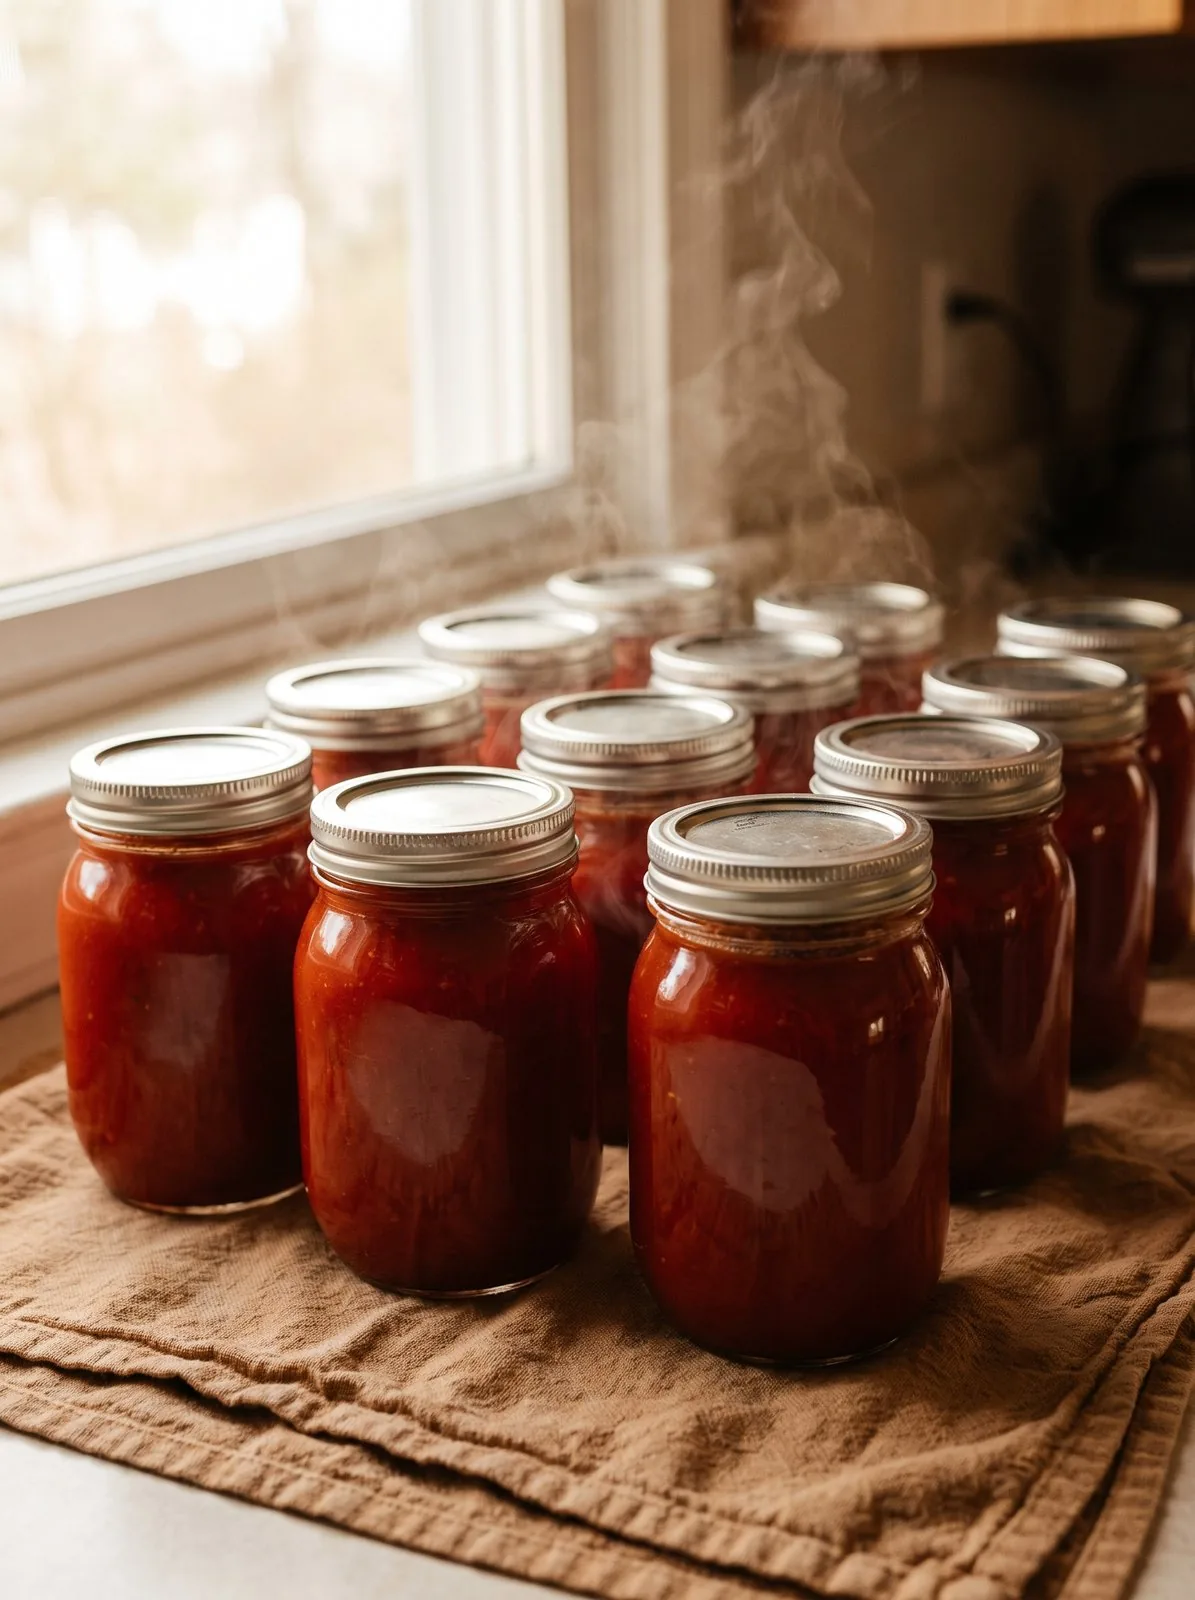
When the time is up, turn off the heat, wait 5 minutes, then lift the jars straight out and set them on a towel to cool undisturbed for 12–24 hours (NCHFP). You will hear the satisfying ping of lids sealing. After they cool, press each lid center: a sealed lid is firm and concave. Any that flex go in the fridge to use soon; the rest get labeled with the date and stored in a cool, dark place.
Beginner Mistakes to Avoid
- Skipping the acid. The single most dangerous shortcut. Every jar, every time.
- Reusing flat lids. Bands are reusable; the flat sealing lids are single-use. A reused lid may not seal.
- Cranking the bands too tight. Fingertip tight lets air escape during processing. Over-tightening can buckle lids and cause seal failures.
- Starting the timer too early. Time only from a full rolling boil, not from when jars go in.
- Ignoring altitude. Higher elevation means lower boiling temperature, which means longer processing. Use a chart.
- Canning overripe or damaged tomatoes. Use firm, ripe, unblemished fruit; spoilage and low acidity in bad tomatoes are a safety risk.
Build Out Your Pantry From Here
Once you have a shelf of home-canned tomatoes, the canning habit tends to spread — salsa, sauce, pickles, and beyond. Tomatoes and other high-acid foods are perfect for the water-bath method; when you are ready to move into low-acid vegetables, meats, and soups, that is where a pressure canner (Amazon) comes in, because those foods need higher-than-boiling temperatures to be safe.
Canning is one pillar of a stocked, resilient pantry. Pair it with the no-electricity methods in our food preservation without electricity guide and the long-term strategies in the Lost SuperFoods review, and you build a pantry that carries you through a bad harvest, a lean winter, or a grid-down summer. The Self-Sufficient Backyard review covers where preserving fits in the bigger homestead picture. This summer’s tomato flood is the perfect place to start.
Frequently Asked Questions
- Do you have to add lemon juice when canning tomatoes?
- Yes — this is the one non-negotiable safety step. Tomatoes sit right on the border between high- and low-acid foods, and some have pH values slightly above 4.6, the upper limit for canning safely by water bath alone. Add 2 tablespoons of bottled lemon juice per quart jar (1 tablespoon per pint), or ½ teaspoon of citric acid per quart (¼ teaspoon per pint), regardless of how the tomatoes taste. Use bottled lemon juice, not fresh, because its acidity is consistent.
- Can you water-bath can tomatoes, or do you need a pressure canner?
- You can safely water-bath can tomatoes as long as you acidify them with bottled lemon juice or citric acid first. Acidified tomatoes are high-acid enough for the boiling-water method. A pressure canner is not required for plain acidified tomatoes, though it does shorten processing time and is required for low-acid mixtures like tomatoes packed with meat, or plain vegetables.
- How long do you process tomatoes in a water-bath canner?
- It depends on the pack style, jar size, and your altitude, so follow a tested recipe. As a general guide, whole or halved tomatoes packed in water run 40 minutes for pints and 45 minutes for quarts at 0–1,000 feet, while tomatoes packed raw without added liquid or packed in tomato juice need 85 minutes for pints or quarts, with time added for higher elevations. Always start timing only once the water has returned to a full rolling boil, and adjust for altitude using a tested chart.
- How much headspace do you leave when canning tomatoes?
- Leave ½ inch of headspace for tomatoes — the gap between the food (plus liquid) and the rim of the jar. Too little headspace can force food under the lid and prevent a seal; too much can leave excess air that discolors the food. Run a bubble tool or a plastic knife around the inside to release trapped air before wiping the rim and applying the lid.
- How do you know if a canned tomato jar sealed properly?
- After the jars cool for 12–24 hours, press the center of each lid. A properly sealed lid is concave and does not flex or pop when pressed. If a lid springs back or clicks, the jar did not seal — refrigerate and use it within a few days, or reprocess it with a new lid within 24 hours. Remove the screw bands, wipe the jars, label with the date, and store sealed jars in a cool, dark place.
Sources & references
- National Center for Home Food Preservation, Canning Tomatoes: Introduction (opens in new tab)
- National Center for Home Food Preservation, Ensuring Safe Canned Foods (opens in new tab)
- National Center for Home Food Preservation, Whole or Halved Tomatoes (packed in water) (opens in new tab)
- National Center for Home Food Preservation, Whole or Halved Tomatoes (packed raw without added liquid) (opens in new tab)
- National Center for Home Food Preservation, Recommended Canners (opens in new tab)
- National Center for Home Food Preservation, Cooling Jars and Testing Jar Seals (opens in new tab)
- National Center for Home Food Preservation, Recommended Jars and Lids (opens in new tab)
Before you go
The Renter's Homestead Pack
Self-reliance projects for the yard you don't own — container yields, a raised bed built to move with you, balcony preservation basics, and the landlord questions to ask first.
Free guide
The Renter's Homestead Pack
Self-reliance projects for the yard you don't own — container yields, a raised bed built to move with you, balcony preservation basics, and the landlord questions to ask first.