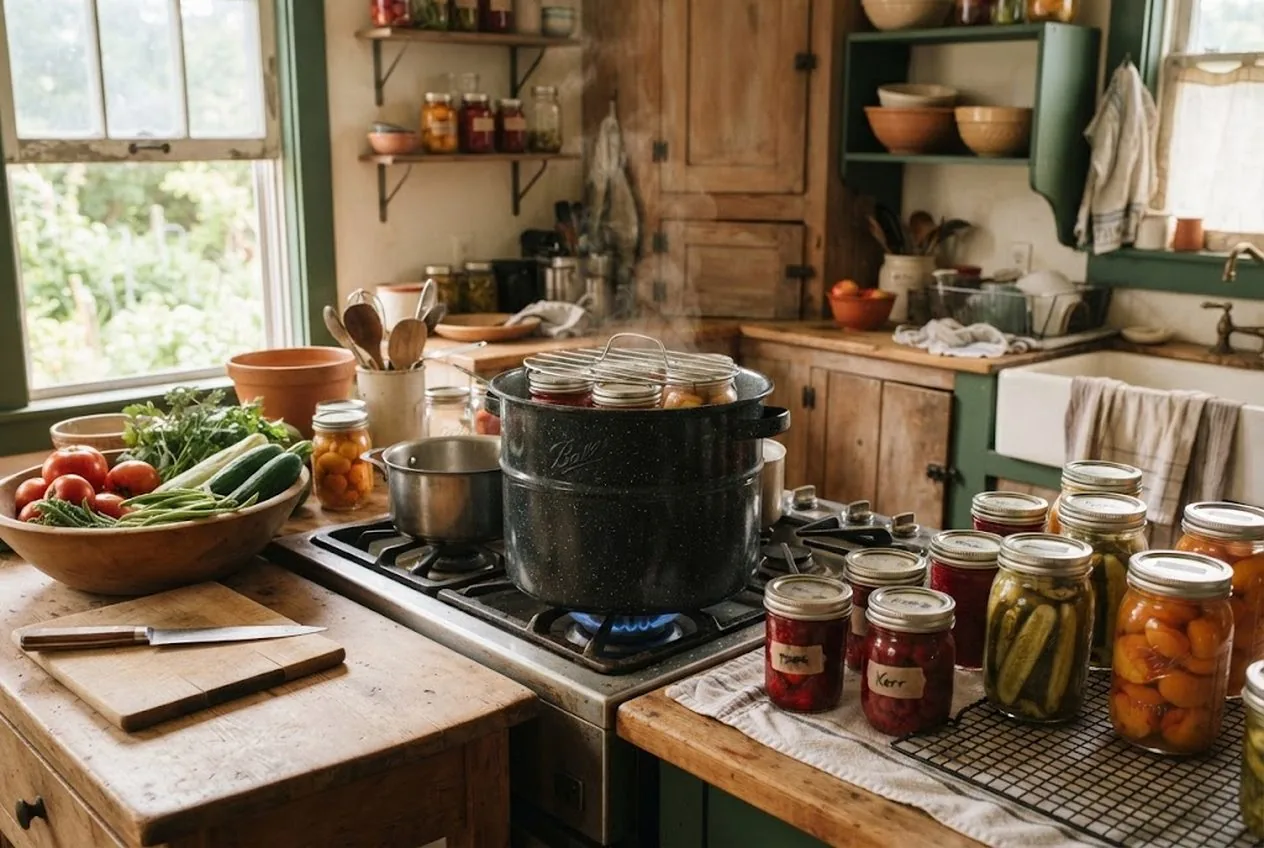
By late July the garden stops asking politely. Cucumbers hide under leaves until they’re the size of your forearm, the peaches all soften in the same three days, and the counter fills faster than anyone can eat. Water-bath canning is the oldest, friendliest way to catch that flood and turn it into a pantry of sealed jars that keep for a year with no freezer and no refrigeration.
If you have never canned before, this is the method to start with. It needs nothing more exotic than a big pot with a rack, and the whole logic rests on a single safety idea you have to understand before you fill your first jar.
Short answer: water-bath canning is safe only for high-acid foods — fruit, jam, pickles, and acidified tomatoes. Get the food into a hot jar, leave the right headspace, and boil it for the time your tested recipe specifies for your altitude. Everything else is detail; the acid rule is the safety.
The One Rule: Water-Bath Canning Is for High-Acid Foods Only
Here is the rule every beginner has to internalize first: the boiling-water bath is only safe for high-acid foods, meaning a pH of 4.6 or below (NCHFP). That single number decides what you’re allowed to put in the canner.
Boiling water reaches 212°F at sea level, and no longer you process changes that ceiling. That temperature is hot enough to make high-acid foods shelf-stable, but it is not hot enough to destroy the spores of Clostridium botulinum — the bacterium behind botulism — which thrive in low-acid, oxygen-free environments like a sealed jar of green beans. Low-acid foods need 240°F to 250°F, and the only home method that reaches it is a pressure canner (NCHFP).
So the summer harvest splits cleanly into two piles:
- Water-bath safe (high-acid): most fruit, jams and jellies, fruit butters, pickles and relishes, salsa made to a tested recipe, and tomatoes acidified with bottled lemon juice or citric acid.
- Pressure-canner only (low-acid): plain vegetables (green beans, corn, carrots, potatoes), beans, meat, poultry, seafood, and most soups.
If you’re weighing which route your harvest needs, our water-bath vs. pressure canning comparison lays the two methods side by side. This guide stays on the water-bath side — the right place to begin.
What You’ll Need
You do not need a wall of specialized gear to start. A beginner’s water-bath setup is genuinely short:
- A water-bath canning starter kit (Amazon) — a tall pot with a rack, jar lifter, funnel, and bubble tool in one box, which is everything your hands touch in the steps below
- A canning tools kit (Amazon) if your pot came without the lifter, funnel, and magnetic lid wand — the small pieces that make the work fast and burn-free
- Mason jars (Amazon) with new two-piece lids — reuse the bands, but start with fresh flat lids every time
- Bottled lemon juice or citric acid, if you’re canning tomatoes
- A reliable, current recipe source — the Ball Complete Book of Home Preserving (Amazon) is the standard reference, with tested times for nearly everything a backyard grows
Disclosure: the product links here are affiliate links, so we may earn a commission if you buy through them at no extra cost to you. The method itself is drawn from long-standing USDA and university-extension canning guidance — follow a current tested recipe for the exact times, and treat the safety notes here as non-negotiable.
The Beginner’s Water-Bath Method, Step by Step
Step 1: Confirm You Have a High-Acid Food
Before anything heats up, settle the safety question. Fruit, jam, and properly brined pickles are naturally high-acid and ready to go. Tomatoes are the exception that traps beginners — some varieties are now known to sit slightly above pH 4.6, so every jar needs added acid: 2 tablespoons of bottled lemon juice per quart (1 tablespoon per pint), or 1/2 teaspoon of citric acid per quart (1/4 teaspoon per pint) (NCHFP). We walk through that in detail in our water-bath canning tomatoes for beginners guide. If your food isn’t on the high-acid list, close the lid on this project and reach for a pressure canner instead.
Step 2: Prep Jars, Lids, and Canner
Wash jars, lids, and bands in hot soapy water and rinse well. Fill the canner and set it to heat. Keep the clean jars hot — sitting in simmering water or a warm oven — so they don’t crack from thermal shock when hot food goes in. For any recipe processed 10 minutes or longer, the process sterilizes the jars, so you don’t need a separate sterilizing step; jams, jellies, and pickled products processed less than 10 minutes go into sterilized empty jars (NCHFP).
Step 3: Fill the Jars and Set the Headspace
Pack your prepared food and its liquid into the hot jars, leaving the headspace your recipe specifies — the gap between the food and the rim. As a general guide it runs:
- Jams and jellies: 1/4 inch
- Fruit and tomatoes: 1/2 inch
- Pickles and relishes: 1/2 inch
Headspace matters more than beginners expect. Too little forces food under the lid and blocks the seal; too much leaves excess air that discolors the top of the jar. Run the bubble tool or a plastic knife around the inside to release trapped air pockets, then re-check and top up the liquid if the level dropped.
Step 4: Wipe, Lid, and Load
Wipe every rim with a clean, damp cloth — a single smear of jam or a stray seed can ruin the seal. Center a new flat lid and screw the band down to fingertip tight: snug, but not cranked, because air needs to escape during processing. Lower the filled jars onto the rack so they sit under at least 1 inch of water (2 inches for processes over 30 minutes (UGA Extension)).
Step 5: Process at a Full Rolling Boil
Bring the canner to a full, rolling boil — and only then start the timer. Process for the exact time your tested recipe gives for your jar size and, critically, your altitude. Higher elevations boil cooler, so they need more time; the recipe’s altitude column tells you how much. Keep the water at a steady boil the entire time, adding boiling water from a kettle if the level drops below that 1-inch cover.
Step 6: Cool and Check the Seals
When the timer ends, turn off the heat, remove the canner lid, and wait 5 minutes before lifting the jars to let the canner contents settle. Set them on a towel, out of any draft, and leave them undisturbed for 12–24 hours (NCHFP). You’ll hear the small ping of lids sealing. Once cool, press each lid center: a sealed lid is firm and slightly concave and won’t flex. Any that pop back go in the fridge to use within a few days, or get reprocessed within 24 hours with a new lid. Remove the bands, wipe the jars, label them with the date, and store the sealed ones in a cool, dark place (NCHFP).
Common Beginner Mistakes to Avoid
- Canning a low-acid food in a water bath. The one dangerous shortcut. Plain vegetables, beans, and meats need a pressure canner — no exceptions.
- Skipping the acid on tomatoes. Every tomato jar, every time, regardless of how tart the fruit tastes.
- Reusing flat lids. Bands are reusable; the flat sealing lids are single-use and may not re-seal.
- Starting the timer too early. Time only from a full rolling boil, never from when the jars go in.
- Ignoring altitude. Higher elevation means longer processing. Use the chart in your recipe.
- Cranking the bands too tight. Fingertip tight lets air escape. Over-tightening buckles lids and causes seal failures.
Where the Canning Habit Leads
Once you have a shelf lined with home-canned peaches, pickles, and tomato sauce, the habit tends to spread — and a stocked pantry is one of the most satisfying pillars of a self-reliant backyard. Water-bath canning covers the whole high-acid world of the summer harvest. When you’re ready to preserve the low-acid half — beans, green vegetables, and meats — that’s the moment to step up to a pressure canner.
Round out your preserving skills with our guide to food preservation without electricity for the no-power methods that pair naturally with canning, and see 8 long-term food storage mistakes for the storage errors that quietly undo all that work after the jars are sealed. This summer’s glut is the perfect, low-stakes place to learn — start with a batch of jam or pickles and build from there.
Frequently Asked Questions
- What foods can you safely water-bath can?
- Only high-acid foods with a pH of 4.6 or below: most fruits, jams and jellies, pickles and anything properly brined in vinegar, and acidified tomatoes. Low-acid foods — plain vegetables, beans, meats, seafood, and soups — cannot be water-bath canned safely at any processing time, because boiling water never gets hot enough to destroy botulism spores. Those foods need a pressure canner.
- Do I need to sterilize jars before water-bath canning?
- Not separately, as long as your processing time is 10 minutes or more. The boiling-water process sterilizes the jars and contents together. Jams, jellies, and pickled products processed less than 10 minutes do need sterilized empty jars, per the National Center for Home Food Preservation. You do still need to wash jars, lids and bands in hot soapy water and keep the jars hot until you fill them, so they don't crack from thermal shock when the hot food goes in.
- How do I adjust water-bath canning for altitude?
- Water boils at a lower temperature as you climb, so higher elevations need longer processing. Follow the altitude column in a current tested recipe rather than guessing — as a rule of thumb, add processing time in steps starting at 1,000 feet, where NCHFP says sea-level times may result in spoilage. Skipping the adjustment is one of the most common ways a jar ends up under-processed and unsafe.
- How can I tell if a jar sealed correctly?
- After the jars cool undisturbed for 12–24 hours, press the center of each lid. A sealed lid is firm and slightly concave and does not flex or click. If a lid pops back, that jar did not seal — refrigerate it and eat within a few days, or reprocess within 24 hours with a new lid. Remove the bands, wipe the jars, label with the date, and store the sealed ones in a cool, dark place.
- How long does home-canned food last?
- For best quality, the National Center for Home Food Preservation advises canning no more than you will use within a year, and storing jars in a clean, cool, dark, dry place between 50 and 70°F. Date every jar and rotate oldest-first so nothing gets pushed to the back and forgotten.
Sources & references
- National Center for Home Food Preservation, Ensuring Safe Canned Foods (opens in new tab)
- National Center for Home Food Preservation, Tomato Acidification Directions (opens in new tab)
- National Center for Home Food Preservation, Recommended Jars and Lids (opens in new tab)
- National Center for Home Food Preservation, Cooling Jars and Testing Jar Seals (opens in new tab)
- National Center for Home Food Preservation, Storing Home Canned Foods (opens in new tab)
- UGA Extension, Preserving Food Series: Using Boiling Water Canners (opens in new tab)
Before you go
The Renter's Homestead Pack
Self-reliance projects for the yard you don't own — container yields, a raised bed built to move with you, balcony preservation basics, and the landlord questions to ask first.
Free guide
The Renter's Homestead Pack
Self-reliance projects for the yard you don't own — container yields, a raised bed built to move with you, balcony preservation basics, and the landlord questions to ask first.