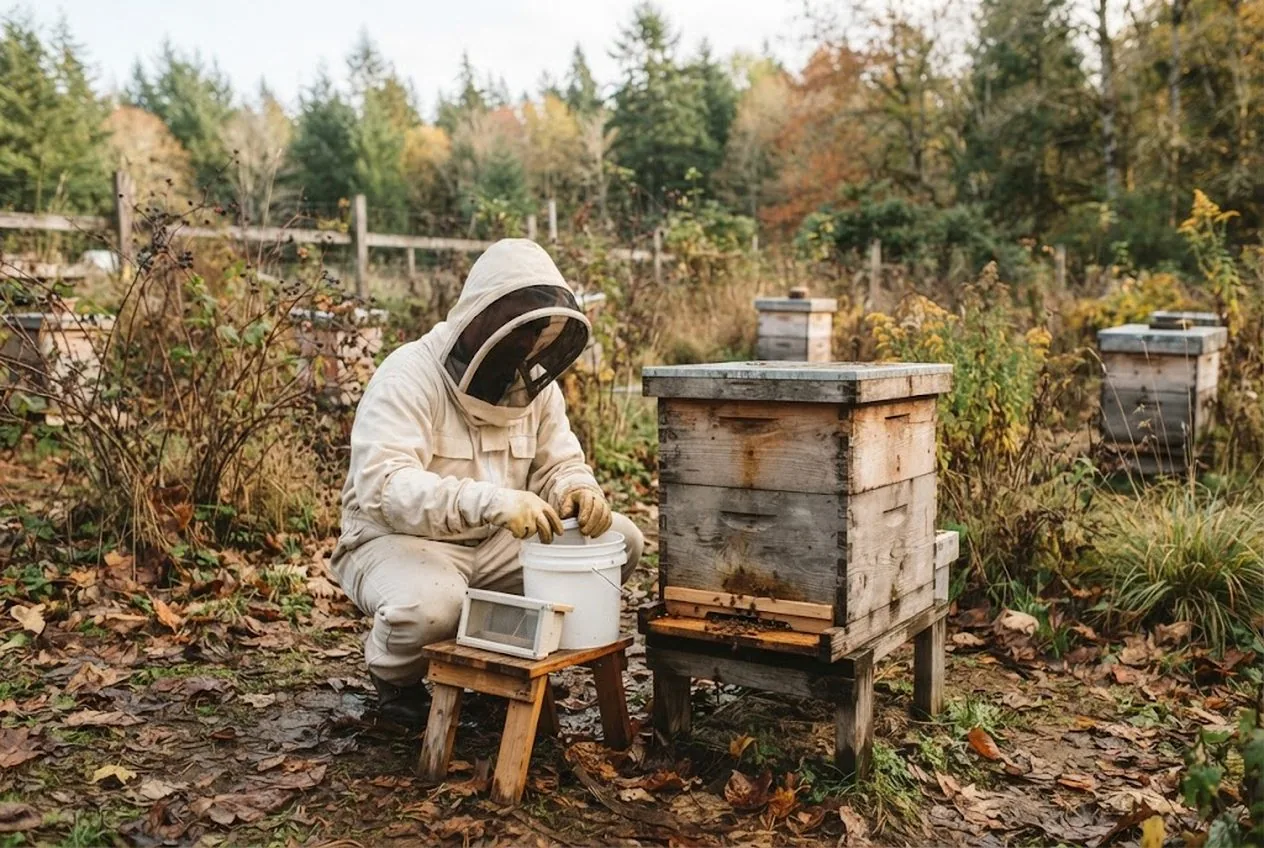
A colony’s odds of making it through winter are largely set in the fall: if mite levels are high as the colony starts shrinking for winter, it may not be healthy enough to rear the bees that have to survive until spring (Honey Bee Health Coalition). A hive that looks strong in September can be quietly doomed by two things you can still fix right now: a varroa mite load that’s about to gut the very bees meant to carry the colony through winter, and a hive that isn’t fed, sealed, or dried out for the cold ahead. Get the fall work right and the bees do the rest. Miss it and no amount of spring hope brings them back.
Short answer: winterizing a hive is a fall job with a clear order — monitor and treat varroa first, because mites cripple the long-lived winter bees; then feed the colony up to winter weight, reduce the entrance so a shrinking cluster can defend and warm the hive, and insulate and ventilate so damp doesn’t kill what the cold couldn’t. This guide walks all five steps in the sequence that matters.
Disclosure: the product links here are affiliate links, so we may earn a commission if you buy through them at no extra cost to you. The guidance reflects standard beekeeping practice and long-standing extension recommendations rather than one brand’s catalog — and mite-treatment products and thresholds vary by region, so always confirm against your local beekeeping association.
These steps assume the standard Langstroth hive most backyard keepers run. If you’re still setting up, or adding a second colony over winter so you’re ready for a strong spring, our backyard beekeeping starter checklist covers the gear in order — and our budget walkthrough of starting a beekeeping setup for under $50 shows the cheapest sound way in.
Step 1: Monitor Mite Levels With an Alcohol Wash
Everything starts with knowing your mite load, and guessing is how colonies die. Varroa destructor is one of the greatest threats to honey bee health (Honey Bee Health Coalition) — the mites feed on developing and adult bees and spread the viruses that actually cause winter collapse. Crucially, the damage lands on the winter bees: the bees raised in late summer and early fall, which carry more body fat and can survive several months of winter clustering. Mites vector viruses to those developing bees and shorten their lives (Mississippi State University Extension), so a hive that goes into winter with high mites is running on a broken engine.
The most reliable field test is an alcohol wash. You collect a sample of about 300 bees (roughly half a cup) from a brood frame — check that the queen isn’t among them — and agitate them in alcohol, which dislodges the mites so you can count them and calculate mites per hundred bees. It kills the sample, which puts some keepers off, but the Honey Bee Health Coalition rates it more reliable than the powdered-sugar method, which is more prone to error (Honey Bee Health Coalition), and accuracy is what a life-or-death treatment decision needs.
Test now, and test before you decide anything else — the number you get sets the next step.
Step 2: Treat Based on Your Count and the Temperature
If your wash comes back at or above the treatment threshold for the season, treat, and treat promptly — the whole point is to knock mites down before the winter bees are raised, so they emerge into a low-mite hive. Waiting until you see obvious sick bees is waiting until the winter bees are already compromised.
Which treatment you reach for depends on two things: your fall temperatures and whether the colony still has brood. Most mite controls have temperature constraints, and a product’s efficacy can vary significantly with or without brood present (Honey Bee Health Coalition), so using one outside its window can fail outright or stress the colony. This is the step to slow down on — read the label, match it to your conditions, and dose exactly. A smoker makes the inspection and any treatment that requires opening the hive far calmer for you and the bees.
Because thresholds and approved products vary by region and change over time, confirm your specific plan with your state extension office or local beekeeping club rather than a generic number. The principle is universal even where the product isn’t: a low mite population as the colony starts shrinking for winter is critical to a colony that comes out the other side.
Step 3: Feed the Colony Up to Winter Weight
A hive can’t forage in the cold, so whatever stores are in the combs when winter closes in are all the colony gets until spring. Fall feeding is how you make sure that’s enough. Heft the hive — lift the back a few inches — or put it on a scale, and compare against the winter weight your region needs; a light hive gets heavy sugar syrup (a 2:1 sugar-to-water fall mix, thicker than the spring ratio) until it’s stored and capped enough to last. Illinois Extension, for example, wants hives there going into winter with at least 90 pounds of honey (University of Illinois Extension).
Timing is the catch. Bees need to evaporate and cap syrup, and they can only do that while it’s still warm enough. Feed steadily through early and mid fall, then stop once the weather turns too cold for them to cure it (Illinois Extension’s cutoff is when temperatures fall below 50°F) — late, uncapped syrup just sits and can ferment or raise humidity in the hive. Feed early enough that the colony banks its winter groceries with time to spare.
Step 4: Reduce the Entrance and Add a Mouse Guard
As fall goes on the colony shrinks to its winter cluster, and a wide-open summer entrance becomes a liability. It’s too much for a smaller guard force to defend against robbing bees and wasps, it bleeds precious heat, and — critically in fall — it’s an open door for mice looking for a warm, dry nest. A mouse that moves into a hive over winter destroys comb and torments the cluster.
Fit an entrance reducer to narrow the opening to something the winter cluster can defend and heat, and add a mouse guard across it so rodents can’t get in while bees still can; mice crawl in through lower entrances once the bees cluster and are no longer at the door to drive them off (Cornell CALS). Do this in fall, before the first cold nights drive mice to seek shelter — once one is in, evicting it is a miserable job.
Step 5: Insulate, Ventilate, and Weatherproof for Winter
Here’s the counterintuitive truth that trips up new beekeepers: bees can survive the cold, but they do not tolerate high humidity. A healthy cluster generates plenty of its own heat, but moisture from the bees’ respiration condenses on the inside of the inner cover in a poorly managed hive and drips back down onto the winter cluster, chilling the bees (University of Illinois Extension). A wet cluster chills and dies where a dry one at the same temperature lives.
So the winter setup manages moisture, not just temperature:
- Insulate the top. A layer of insulation above the cluster keeps the inner cover warm enough that moisture doesn’t condense there and drip.
- Add an upper vent. A small top entrance or vented shim lets the humid air escape rather than pool inside — the escape route for all that moisture the cluster produces.
- Secure and tilt. Strap or weight the lid against winter wind, as Cornell’s overwintering guidance shows with a strapped-down hive fitted with an upper entrance and insulated cover (Cornell CALS), and tilt the hive slightly toward the front so any condensation that does form drains out (University of Illinois Extension).
Wrapping the hive for wind can help in exposed, bitterly cold sites, but it’s secondary to keeping the inside dry. A well-fed, low-mite colony in a dry, draft-managed hive is what walks into spring alive.
The Takeaway
Winter beekeeping is won in the fall, in order: wash to know your mite load, treat promptly so the winter bees emerge into a clean hive, feed the colony up to winter weight while it’s still warm enough to cure syrup, reduce the entrance and shut out mice, then insulate and vent so damp doesn’t finish what the cold started. Each step protects the next. Skip the mite check and the strongest feeding won’t save a colony of short-lived, virus-riddled bees; nail all five and you’ve given the hive everything it needs to do the rest on its own.
For the new-keeper fundamentals behind these tasks, see our backyard beekeeping beginner’s guide — and to fold the hive into the wider homestead to-do list, our 7 fall chores to get chickens and bees ready for winter lines up every animal job to finish before frost.
Sources & references
- Honey Bee Health Coalition, Tools for Varroa Management (9th edition) (opens in new tab)
- Mississippi State University Extension, Colony growth and seasonal management of honey bees (opens in new tab)
- University of Illinois Extension, Prepare your bees for winter (opens in new tab)
- Cornell CALS Pollinator Network, Overwintering (opens in new tab)
Before you go
The Renter's Homestead Pack
Self-reliance projects for the yard you don't own — container yields, a raised bed built to move with you, balcony preservation basics, and the landlord questions to ask first.
Free guide
The Renter's Homestead Pack
Self-reliance projects for the yard you don't own — container yields, a raised bed built to move with you, balcony preservation basics, and the landlord questions to ask first.