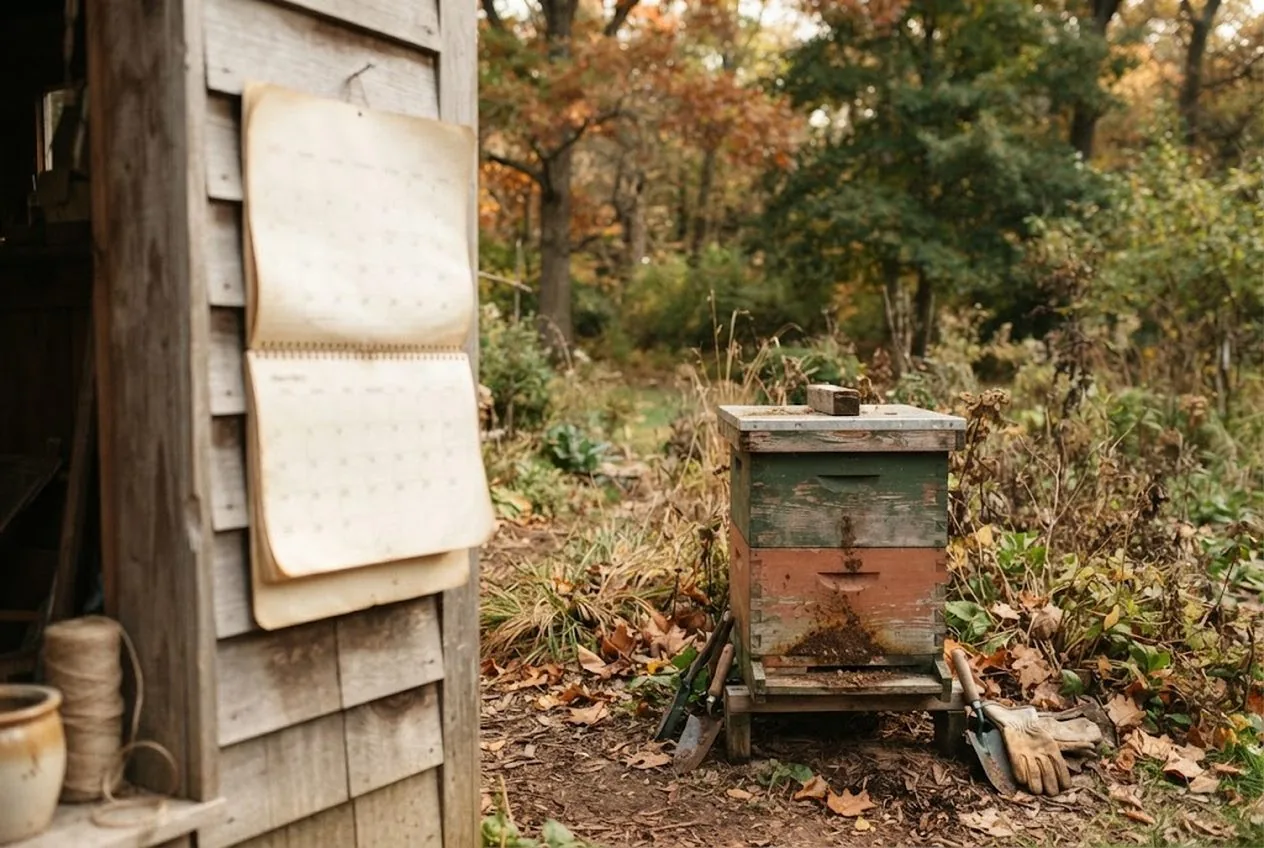
Every fall, beekeeping forums fill with the same question, asked in the wrong month: “when should I treat for mites?” By the time it gets typed out, the honest answer is often “a few weeks ago.” Varroa treatment isn’t a task with a loose fall window that closes whenever the weather turns. It’s tied to a biological deadline that starts earlier than most calendars suggest, and it has nothing to do with when you feel ready to open the hive.
Short answer: the deadline that matters is the start of winter-bee rearing, not the first frost. Mites need to be knocked down before or during the weeks your colony raises the long-lived bees that carry it through winter — treating well after that window closes protects the wrong generation. Work backward from your region’s winter-bee timing (ask a local beekeeping association), test with an alcohol wash before you pick a product, match the treatment to however many weeks are actually left, then recheck before the cluster tightens up for the season.
Disclosure: the product links here are affiliate links, so we may earn a commission if you buy through them at no extra cost to you. The timing guidance below follows standard beekeeping extension practice rather than one brand’s label copy, and mite-treatment thresholds, approved products, and temperature ranges vary by region and change over time, so confirm the specifics with your state extension office or local beekeeping association before you treat.
If you haven’t run the full fall checklist yet, our step-by-step guide to treating varroa and winterizing your hive covers all five tasks in sequence — feeding, entrance reduction, and insulation included. This article is the deep dive on the one part of that sequence that’s easiest to get wrong: the calendar itself.
Why Fall Timing Decides Whether Your Colony Survives Winter
A summer bee lives for about four to six weeks and works itself to exhaustion foraging, while winter bees can live up to eight months (Developmental Neurobiology, 2025). A winter bee is built differently — it’s raised with greater fat-body reserves (Scientific Reports, 2021) that let it live for months instead of weeks, doing almost nothing but clustering and generating heat until spring. That single generation is the entire colony’s survival plan. There’s no second batch coming until the weather warms.
Varroa mites feed on developing and adult bees and spread the viruses that actually do most of the killing (Honey Bee Health Coalition). When mites are present in the hive during the specific weeks winter bees are being reared, the damage lands on exactly the bees the colony is counting on — shortening their lives, weakening their fat reserves, and undermining the one thing they’re supposed to be good at: lasting. A treatment applied a month after that window has already closed can still lower the mite count, but it can’t undo damage already done to bees that were raised sick; the Honey Bee Health Coalition notes late control when mite numbers are high may be insufficient to protect colonies. That’s the whole case for timing over just “treating eventually” — the target isn’t the mite count on any given day, it’s the health of a generation that’s being built right now.
This is also why two beekeepers can follow the same product label and get different outcomes. The label tells you how to treat; it doesn’t know when your particular hive starts rearing winter bees, because that date shifts with latitude, elevation, and the local nectar flow, and it can move a couple of weeks earlier or later from one year to the next even in the same yard. A treatment schedule copied from a forum post written for a different climate is a schedule for someone else’s colony, not yours — which is the entire reason the first step below is a phone call to a local source rather than a fixed date on a national calendar.
What You’ll Need
- A way to count mites accurately. A dedicated alcohol wash setup, rather than guessing from occasional visible mites on adult bees, which badly undercounts.
- A smoker, if you don’t already keep one lit during inspections — treating usually means opening the hive at least once, sometimes more than once.
- A treatment matched to your remaining weeks and your local threshold, chosen after you test, not before.
- Two free pieces of information: your region’s typical winter-bee rearing start date and the current mite threshold your local association recommends. Both come from a phone call, not a guess.
Step 1: Work Backward From Your Winter-Bee Cutoff Date
Start with your region’s typical first fall frost date, available from your state extension office or a garden almanac for your area. Then ask your local beekeeping association a more specific question: when does winter-bee rearing usually start where you keep bees? That second date — not the frost date — is the one your treatment plan needs to hit.
The gap between “now” and that date is your actual window, and it’s often shorter than it feels in late summer. Write the cutoff date somewhere you’ll see it, the same way you’d write down a bill due date. A treatment plan with no date attached tends to slide a week at a time until the window is gone.
Step 2: Test Mite Levels Before You Choose a Treatment
Don’t pick a product first and test later — test first, because the count tells you how urgently you need to move and how much margin you have if a first treatment underperforms. Sample roughly 300 bees (about half a cup) from a brood frame, check that the queen isn’t among them, and agitate the sample in alcohol so the mites dislodge and you can count them against the total for a mites-per-hundred figure (Honey Bee Health Coalition).
Testing while several weeks still remain before your cutoff is what keeps your options open. If the count comes back high, you have time to treat, wait out the labeled window, and retest — or switch products if the first one doesn’t move the number. Test with only a few days of margin left, and a stubborn count leaves you with no room to react.
Step 3: Match the Treatment to the Weeks You Have Left
Once you have a count and a cutoff date, the choice of treatment becomes a scheduling problem as much as a mite-control one. Some products are single applications; others need multiple treatments spaced days apart, and the full course has to finish — not just start — before your winter-bee window opens. Check the label for the total course length and count backward from your cutoff date to see whether it actually fits.
Two other label details narrow the field further as the season closes in: the product’s approved temperature range, and whether it’s rated for use with capped brood still present in the hive (the Honey Bee Health Coalition’s product tables list both for each treatment (HBHC)). A treatment that needs warmer days than you have left, or that doesn’t reach mites sheltering under brood cappings, isn’t a real option this late regardless of how well it otherwise works. When in doubt, a smoker makes the inspection needed to check brood status and apply treatment calmer for you and the colony.
Step 4: Recheck Before the Cluster Forms
A treatment applied on schedule is only half the job — you still need to know it worked. Run a second alcohol wash after the product’s labeled window closes, using the same method as your first test, and compare the two counts directly; the Honey Bee Health Coalition advises always repeating sampling after treatment to confirm it worked.
Do this while the colony is still active enough to sample without much disruption. Once cooler weather sets in and the bees pull into their winter cluster, getting an accurate sample gets harder, and unnecessarily opening a clustered hive costs the colony heat it can’t easily replace. If the recheck still shows a high count, that’s information for next season as much as this one — a resistant local mite population is worth flagging to your association before you’re relying on the same product again.
Troubleshooting: What If You’re Already Past the Window?
If the calendar math above tells you the winter-bee window has already closed, don’t skip treatment out of a sense that it’s now pointless. A late treatment still lowers the mite load your colony carries into winter, even though it can’t undo whatever damage already reached this year’s winter bees. Treat as soon as temperatures and the label allow, and lean on your local association for options that work later in the season — some keepers use a broodless-period treatment in the depth of winter as a backstop, but whether that fits your climate and setup is a local-authority question, not a generic one.
The other move that actually pays off here is preventing a repeat: put next year’s cutoff date on the calendar now, while this year’s miss is still fresh, rather than rediscovering the same deadline in the same rushed way twelve months from now.
The Takeaway
Varroa control in fall isn’t primarily a product decision — it’s a scheduling decision that determines whether the product you pick can even do its job in time. Find your region’s winter-bee rearing window, test before you commit to a treatment, size the treatment to the weeks you actually have, and recheck while the colony is still easy to sample. Get the calendar right and a reasonable product does the rest; get it wrong and even a good product is protecting bees that are already past saving.
None of this replaces the rest of the fall checklist. A colony with a low mite count still needs to be fed to winter weight, have its entrance reduced against mice, and be sealed and vented against damp — our guide to treating varroa and winterizing your hive walks through those remaining steps, and 7 fall chores to get chickens and bees ready for winter lines the hive work up against the rest of the homestead’s to-do list. If you’re setting up a colony for the first time rather than winterizing an existing one, start with our backyard beekeeping beginner’s guide.
Frequently Asked Questions
- How many weeks before the first frost should I treat for varroa?
- There's no single number that holds nationwide — it depends on when your region's winter bees are raised, which your local extension office or beekeeping association can tell you for your climate. The general principle is universal even where the calendar isn't: treatment needs to knock mites down before or during that rearing window, not just before the ground freezes, so work backward from that date rather than from the frost date alone.
- Can I still treat if the hive already has capped brood going into fall?
- Some treatments work fine with capped brood present and some don't reach mites sheltering inside capped cells at all, so this is a label question, not a guess. Check whether your chosen product is rated for use with brood in the hive, and if you're not sure, ask your local beekeeping association which options fit a colony that hasn't slowed its brood rearing yet.
- What happens if I miss the ideal fall window entirely?
- Treat as soon as conditions and the label allow rather than skipping the season — a late treatment still reduces the mite load the colony carries into winter, even if the ideal winter-bee window has already passed. Ask your local association about a broodless-period option for deep winter as a backstop, and put next year's cutoff date on the calendar early so this doesn't repeat.
- Do I need to retest after treating?
- Yes. An alcohol wash after the treatment's labeled window is the only way to confirm the count actually came down rather than assuming the product worked. If it didn't drop meaningfully, that's a signal to talk to your local association about resistance in your area and whether a different treatment class makes sense before winter, not to repeat the same product and hope.
Sources & references
Before you go
The Renter's Homestead Pack
Self-reliance projects for the yard you don't own — container yields, a raised bed built to move with you, balcony preservation basics, and the landlord questions to ask first.
Free guide
The Renter's Homestead Pack
Self-reliance projects for the yard you don't own — container yields, a raised bed built to move with you, balcony preservation basics, and the landlord questions to ask first.