Disclosure: This post contains affiliate links. If you click and purchase, we may earn a small commission at no extra cost to you. We analyzed independent reports and expert recommendations — we have not personally tested these products.
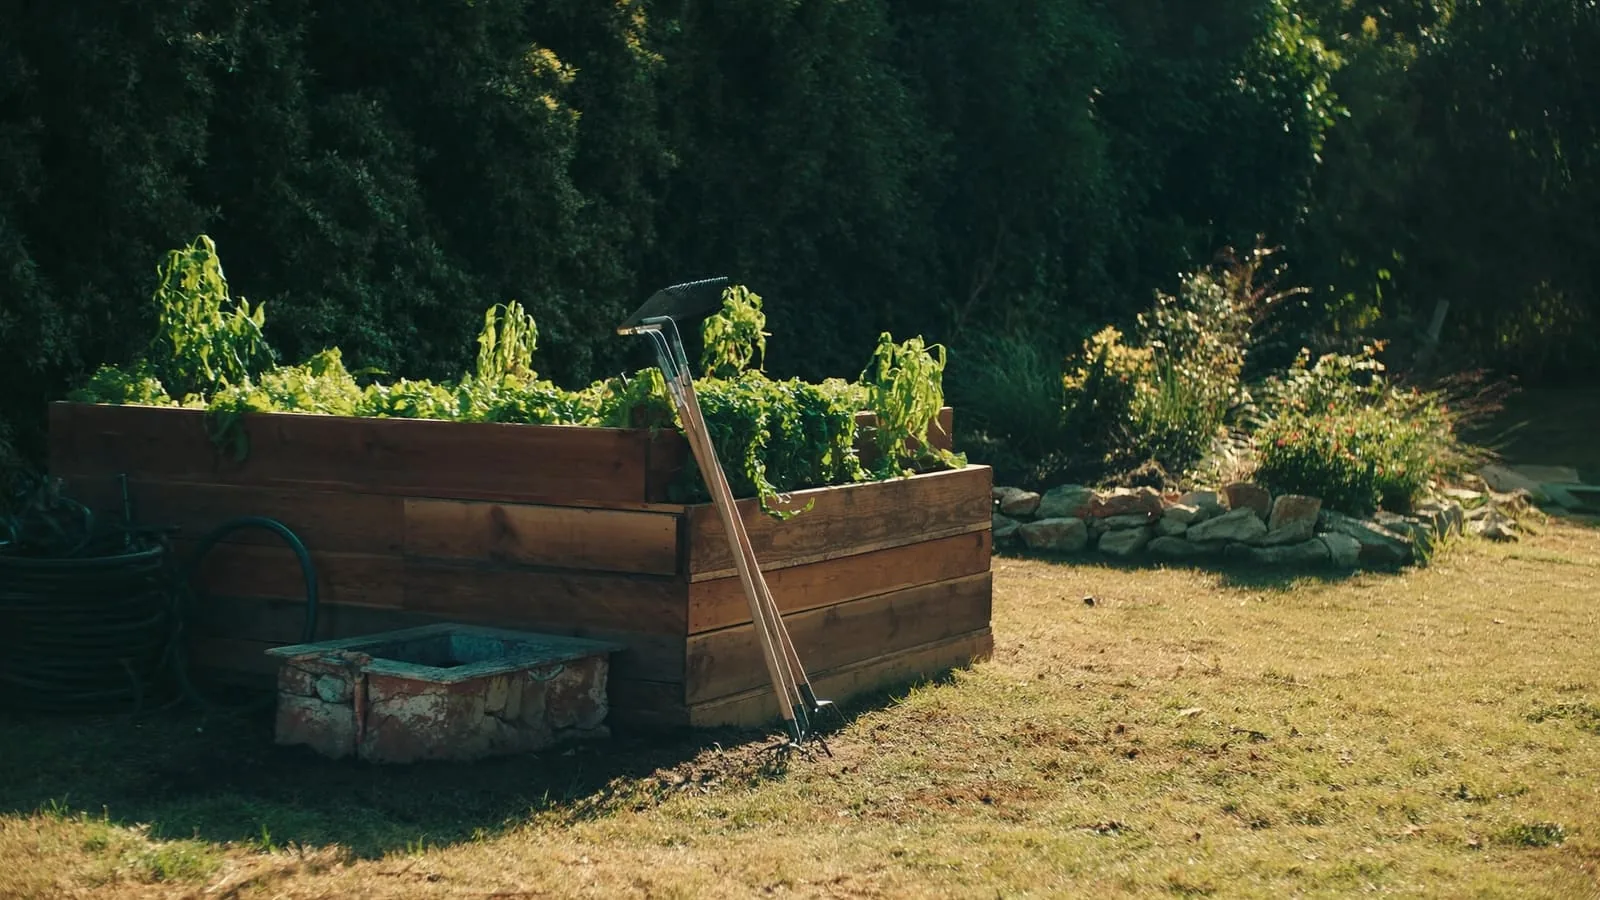
Most people assume a raised garden bed gets expensive once you factor in cedar lumber, hardware, and soil. Wooden pallets — the kind stacked outside many hardware stores, garden centers, and grocery warehouses — can replace that lumber, bringing the cost of a productive raised bed down to a fraction of a cedar build. Sometimes close to zero.
A DIY raised garden bed from pallets is a high-return weekend project. You end up with a contained, well-drained growing space whose soil warms faster in spring for earlier planting (Utah State University Extension), with less weeding and direct control over soil quality.
This guide walks through the complete build — from sourcing safe pallets to the final planting. Whether you have a large suburban yard or a tight urban space, a 4×4 pallet frame can put a real amount of food on the table each season.
If you have a free Saturday and a drill, you can have soil in the ground by Sunday afternoon.
Short answer: A DIY raised garden bed from pallets uses free, HT-stamped (heat-treated) wooden pallets to replace expensive cedar lumber, so you mainly pay for fabric and soil. Stand the pallets on edge to form a 4x4 frame, line the interior with landscape fabric, and fill with compost-enriched topsoil or a soilless growing mix. A single well-managed bed can produce a meaningful harvest in one season, all from a nearly free weekend build.
What Do You Need to Build a Pallet Bed?
Free or foraged materials:
- 4 to 6 wooden pallets (same size preferred — standard 48×40 inches)
- Scrap 2×4 lumber for corner bracing (or disassemble one extra pallet)
- Reclaimed screws or nails
- Cardboard (for base layer weed suppression)
Low-cost purchases:
- Weed barrier landscape fabric (Amazon) — lines the interior walls to hold soil and block weeds
- Raised bed garden soil mix (Amazon) — premixed loamy blend engineered for container-style beds
- Heavy-duty staple gun (Amazon) — for securing fabric liner to pallet boards
- Organic compost amendment (Amazon) — blended into the soil mix to boost fertility in the first season
Basic tools:
- Power drill and 3-inch screws
- Measuring tape
- Utility knife or scissors
- Level
Step-by-Step Guide
Step 1: Find and Select Safe Pallets
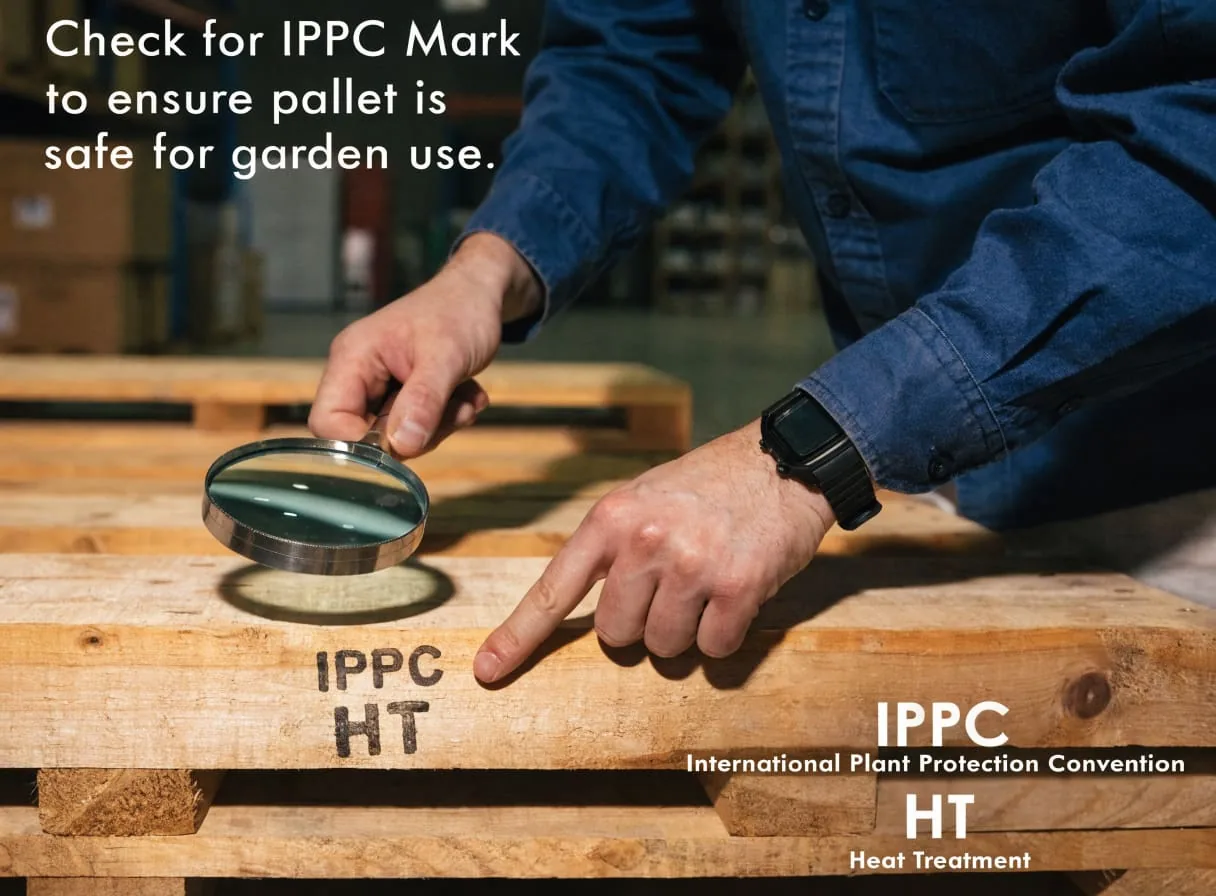
Pallet safety is the single most important step in this build. Use pallets stamped with HT (heat treated): this marking means the wood was heated to kill pests and no chemicals were used, making HT pallets generally safe for garden use (UC Agriculture and Natural Resources). Pallets stamped MB (methyl bromide) were treated with a toxic fumigant and should never be used around food crops; Penn State Extension says never to use MB pallets for any home project (Penn State Extension).
Look for the IPPC stamp on the side of each pallet — a small tree-like logo shown with the treatment code, and often a country code such as “US” and a manufacturer ID (UC Agriculture and Natural Resources). No stamp at all means unknown origin and unknown treatment; skip those unless you can confirm their history, and check any pallet for spills, stains, or unusual odors.
Good free sources for HT-stamped pallets include garden centers, tile and flooring stores, appliance retailers, and feed stores. Calling ahead saves time, and always ask before taking pallets. Aim for pallets that are the same size so your frame sits level and square.
Step 2: Choose the Right Location
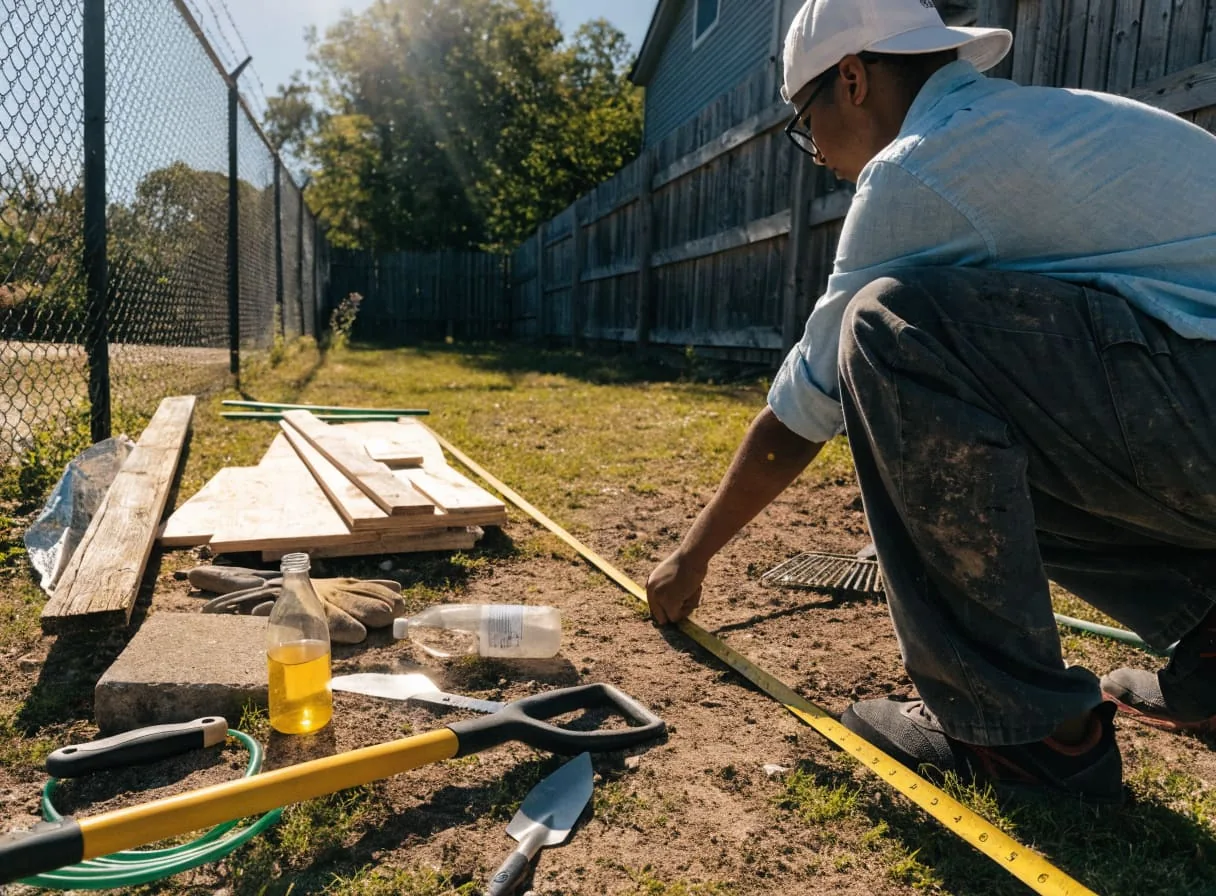
Utah State University Extension recommends a location with at least 6 to 8 hours of direct daily sunlight for maximum fruit and foliage production (Utah State University Extension). Most vegetable crops — tomatoes, peppers, beans, squash, cucumbers — are sun-dependent and will produce poorly in shadier spots. Leafy greens like lettuce and spinach are better candidates for partially shaded locations.
Orient your bed so the long axis runs north to south if possible. This alignment ensures that taller plants at the north end shade only the fence or a trellis rather than shorter crops, keeping light distribution more even across the whole bed.
Check for proximity to a water source before you commit to a location. Raised beds dry out more quickly than in-ground plots because their warmer soil loses more moisture, so they need more frequent irrigation in hot summer months (Utah State University Extension). Being within easy reach of a hose or a DIY rain barrel eliminates one of the most common reasons new garden beds get neglected by midsummer.
Step 3: Assemble the Pallet Frame
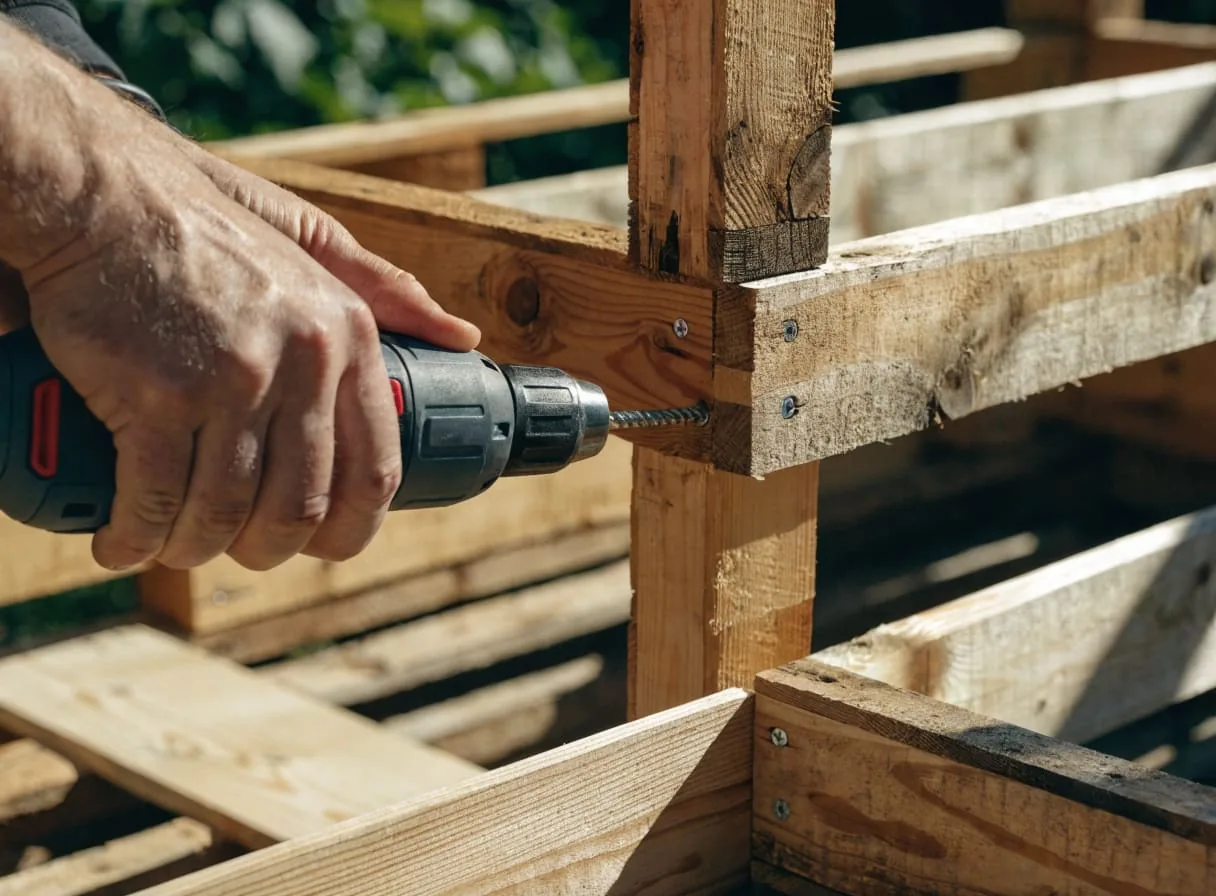
Stand four pallets on their edges to form a rectangle, with the deck boards (the top surface you’d normally stack goods on) facing inward. This orientation creates a solid interior wall that holds soil without gaps. Align the corners flush and clamp them temporarily before driving screws.
Drive two or three 3-inch exterior screws through the face of each corner joint at different heights. Pre-drilling prevents splitting on older, drier pallet wood. If you want additional rigidity — especially useful on larger beds or in areas with freeze-thaw cycles — cut short lengths of 2×4 and screw them into each interior corner as gussets.
For a taller bed (better for root vegetables and for reducing bending), stack a second layer of pallets directly on top of the first, offsetting the seams so corners don’t align. Secure the layers together with screws driven down through the top pallet’s frame into the one beneath. Two-pallet-tall beds are easier on your back and give roots more depth.
Step 4: Add Landscape Fabric Liner
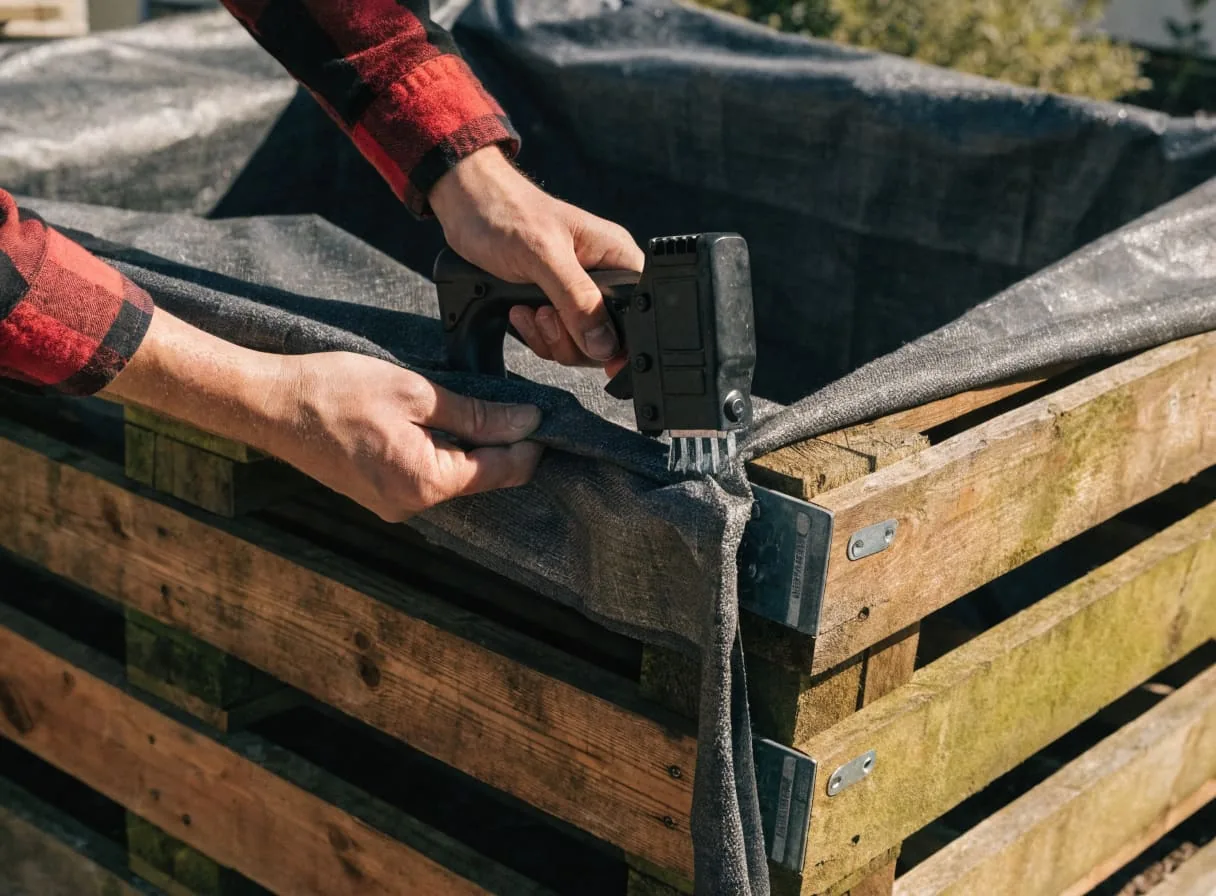
The liner serves two functions: it keeps soil from washing out through the gaps in the pallet boards, and it prevents weeds from pushing up from the ground below. Use a permeable weed barrier landscape fabric (Amazon) rather than plastic sheeting — fabric allows water drainage while plastic can trap moisture.
Cut the fabric to fit the interior perimeter of your frame, running it up the inside walls and folding it over the top edge. Use a heavy-duty staple gun (Amazon) to fasten it to the pallet boards every four to six inches. Overlap seams by at least three inches wherever pieces of fabric meet, and fold corners neatly to eliminate gaps.
Before placing the framed bed in its final spot, lay overlapping sheets of cardboard directly on the ground surface. This smothers existing grass and weeds through the first season without any herbicide, and cardboard decomposes into organic matter over winter.
Step 5: Fill With the Right Soil Mix
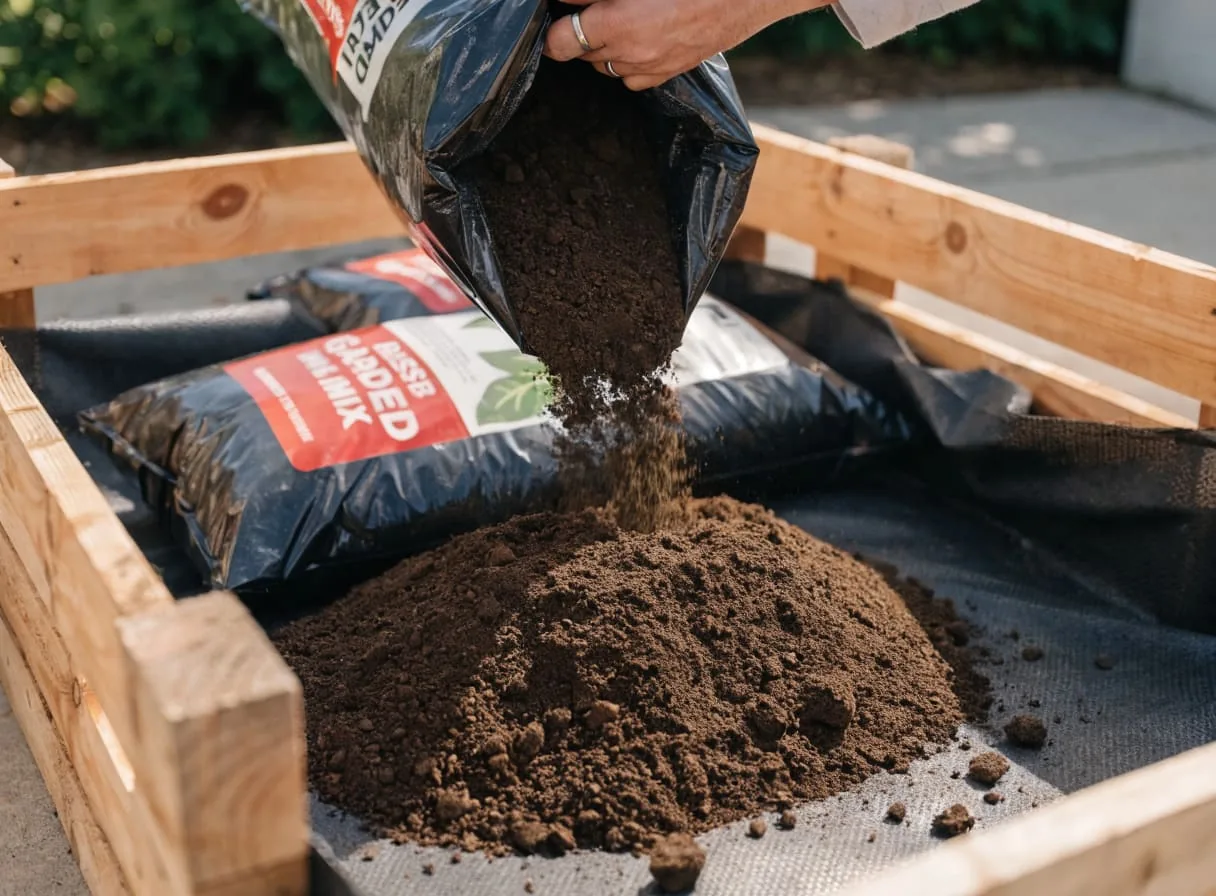
You can fill a raised bed with native soil moved from elsewhere in the garden or with a bulk soil mix, but if your native soil is heavy and slow-draining, mix in organic matter such as compost (Oregon State University Extension). Utah State University Extension notes that compost-enriched topsoil or a soilless growing mix can be used to fill raised beds (Utah State University Extension). A simple approach is mostly quality raised bed garden soil mix (Amazon) blended with organic compost amendment (Amazon), plus some perlite or coarse sand if drainage is a concern.
A standard single-layer 4×4 pallet bed at roughly 6 inches deep requires about 8 cubic feet of fill. Two-layer beds need closer to 16 cubic feet. Buying in bulk bags is more economical than smaller quantities, and many garden centers offer bulk delivery by the cubic yard during the spring and summer season — worth pricing against bagged product for larger builds.
Fill to about two inches below the top of the frame to leave a watering buffer. The soil will settle over the first few weeks, so slightly overfilling on day one is better practice.
Step 6: Plant and Mulch Your Bed
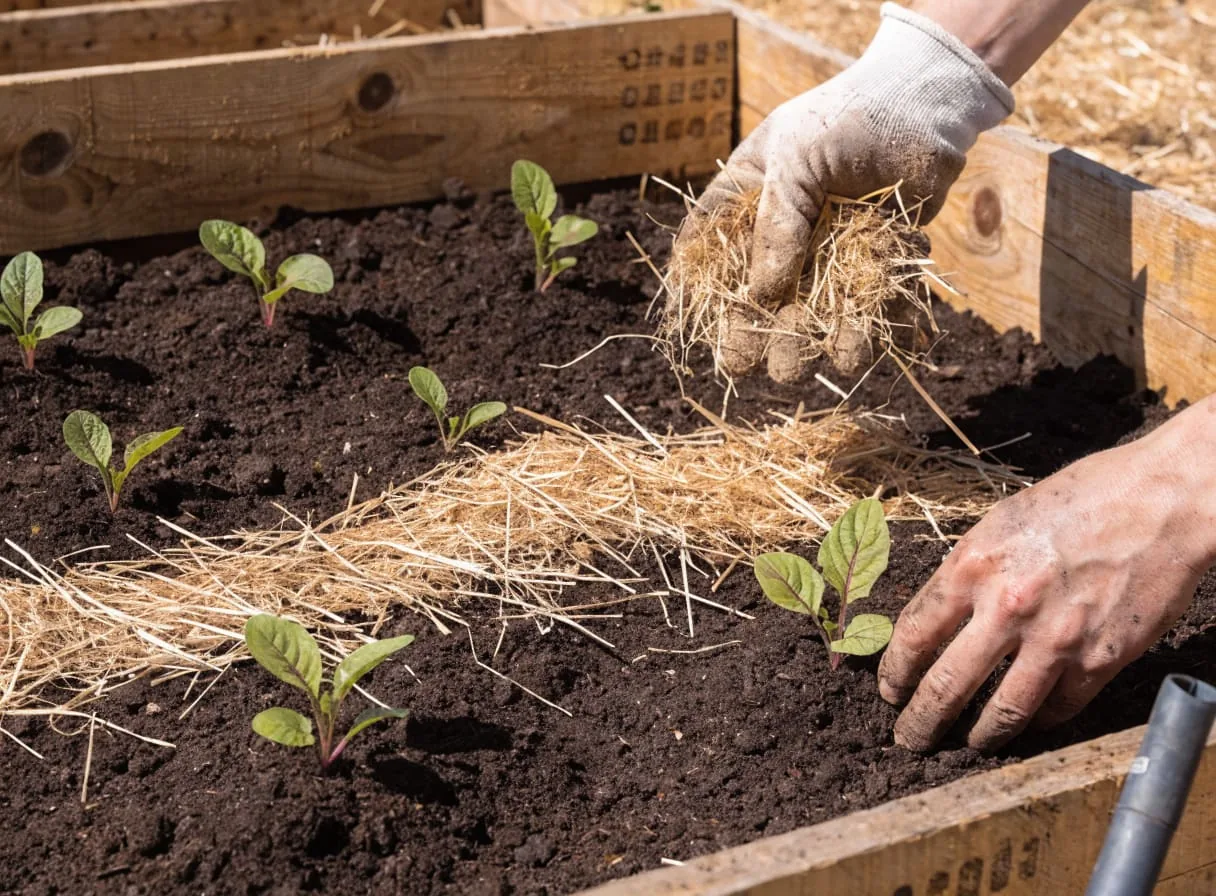
With the soil in place, the bed is immediately ready for transplants or direct seeding. For a mid-July planting date, warm-season crops like beans, summer squash, and cucumbers direct-sow well in most growing zones. Tomato and pepper transplants planted this late only make sense if enough frost-free days remain for the variety’s days to maturity before your first fall frost date.
Square-foot gardening uses grid spacing rather than row spacing — this maximizes yield per square foot and shades out competing weeds as plants mature. A single 4×4 bed planted on this system can support one tomato, two pepper plants, four bush bean plants, and a row of lettuce along the shadier north edge simultaneously.
Finish by spreading two to three inches of straw, wood chip, or shredded leaf mulch between plants. Mulch slows evaporation, so you water less often, while suppressing late-season weeds and gradually feeding the soil as it breaks down.
Pro Tips
- Mark your pallets. Once the frame is assembled and stained or weathered, the HT stamp can become hard to read. A permanent marker notation on an inside board keeps your safety record clear for future reference.
- Add drip irrigation on day one. Running a basic soaker hose or drip irrigation line along the top of the bed before planting avoids disturbing roots later. A simple timer turns this into a nearly hands-off system.- Plan for vertical. Pallets are naturally flat, but a tall trellis zip-tied or screwed to the back pallet turns a 16-square-foot bed into a three-dimensional growing space — adding growing room without expanding the footprint.
- Winterize with a cover crop. Sowing crimson clover or winter rye when summer crops wind down helps prevent erosion and adds organic matter; legumes like crimson clover also fix nitrogen (SARE).
Why Is a Pallet Raised Bed Worth It?
The financial case for pallet raised beds is straightforward. The frame is free or nearly free, so your outlay is mostly fabric and soil, and the value of what you harvest depends on what you plant and local grocery prices.
The deeper case is about resilience. Building growing infrastructure from reclaimed materials — materials that would otherwise go to landfill — is a direct expression of the self-reliance ethic at the core of the backyard homesteading movement. You are not waiting for a store to be stocked, a supply chain to function, or a budget to free up. You are producing food with your hands from what already exists around you, and that capacity, once built, compounds season over season.
Final Thoughts
A DIY raised garden bed from pallets is genuinely one of the most accessible entry points into backyard food production — low cost, low skill threshold, and high payoff from the very first season. And if you want to go further, our guide to building a free DIY compost bin for soil amendments from your kitchen and yard is a natural next step — or zoom out with the self-sufficient backyard beginner’s guide to see how the bed fits into a whole-yard food plan.
Frequently Asked Questions
- Are all pallets safe to use for vegetable gardening?
- No. Pallets stamped HT (heat treated) are made without chemicals and are generally considered safe for garden use. Pallets marked MB were treated with methyl bromide, a toxic fumigant, and should be avoided entirely. Always check the IPPC stamp before use, skip unmarked pallets unless you can confirm their history, and look for spills, stains, or unusual odors.
- How long will a pallet raised bed last?
- Untreated softwood rots and breaks down within a few years in contact with moist soil, so expect a pallet frame to need replacing sooner than cedar. A landscape fabric lining reduces soil contact with the wood, and an exterior-grade linseed oil or natural wood finish on the outside faces can help it last longer.
- What vegetables grow best in a pallet raised bed?
- Tomatoes, peppers, bush beans, cucumbers, lettuce, kale, radishes, and herbs are good choices for their high yield per square foot. Long-rooted crops like carrots and parsnips do better in a deeper bed, achievable with a double-stacked pallet build.
- How much does a DIY pallet raised bed cost?
- Because the pallets are free or foraged, the main costs are landscape fabric and soil, so a pallet bed costs a fraction of a cedar build. What you save on produce depends on what you plant and local grocery prices.
Sources & references
- UC Agriculture and Natural Resources, Picking Pallets for Raised Beds (opens in new tab)
- Penn State Extension, Be Safe Around Wooden Pallets (opens in new tab)
- Utah State University Extension, Raised Bed Gardening (opens in new tab)
- Oregon State University Extension, Raised bed gardening (FS 270) (opens in new tab)
- SARE, Cover Crops for Sustainable Crop Rotations (opens in new tab)
Before you go
The Renter's Homestead Pack
Self-reliance projects for the yard you don't own — container yields, a raised bed built to move with you, balcony preservation basics, and the landlord questions to ask first.
Free guide
The Renter's Homestead Pack
Self-reliance projects for the yard you don't own — container yields, a raised bed built to move with you, balcony preservation basics, and the landlord questions to ask first.