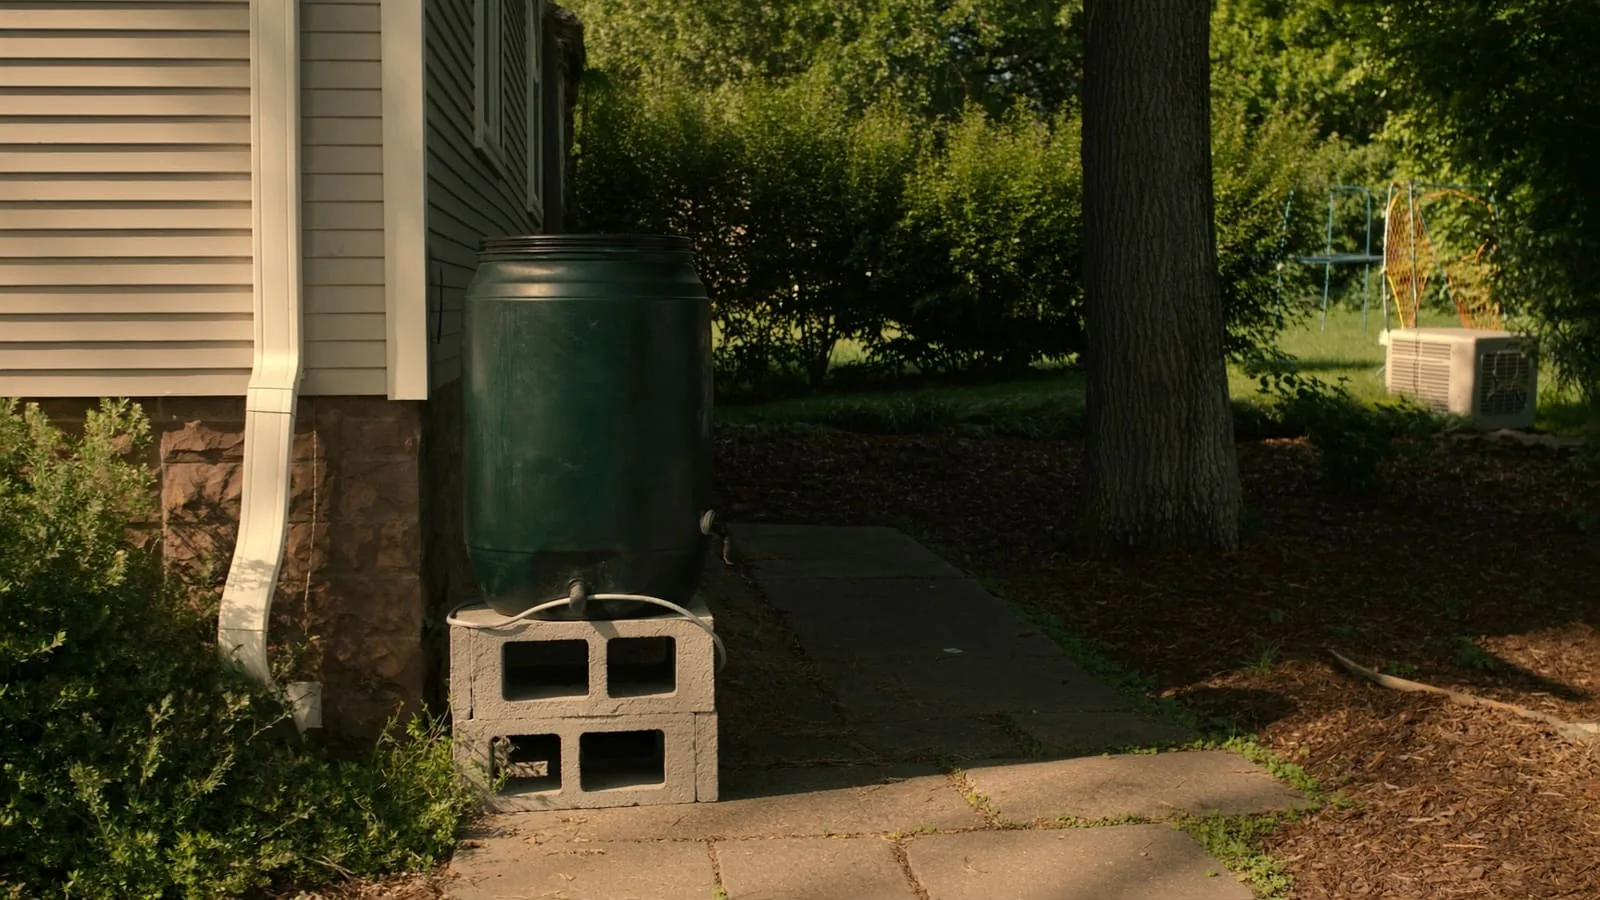
Your water bill is going up. Every year. Meanwhile, rain falls on your roof, runs down your gutters, and soaks into the ground — completely wasted.
A DIY rain barrel system fixes that. For less than $50 and a couple hours of work, you can collect hundreds of gallons of free water and use it to irrigate your garden all summer long.
Here’s exactly how to do it.
Short answer: A DIY rain barrel system captures roof runoff through your downspout and stores it in an elevated barrel with a spigot for gravity-fed garden watering — no pumps or electricity needed. You can build one for under $50 in about two hours, and a 1,000 sq ft roof yields roughly 600 gallons of free water per inch of rain (University of Wisconsin–Madison Extension). The key steps are elevating the barrel, installing a downspout diverter, adding overflow protection, and sealing it against mosquitoes.
What Is a Rain Barrel System?
A rain barrel system captures rainwater from your roof via gutters and downspouts, stores it in a barrel, and gives you on-demand access through a spigot. No pumps, no electricity, no subscription required.
A 1,000 sq ft roof can yield roughly 600 gallons of water per inch of rain (University of Wisconsin–Madison Extension), or about 0.62 gallons per square foot of roof per inch (Oregon State University Extension). Even a modest storm can fill a 50-gallon barrel.
Is It Legal to Collect Rainwater?
Collecting rainwater is allowed in many places, and some states actively encourage it. But it is not allowed everywhere: some states consider rainwater the property of the state and regulate its collection (CDC).
Always check your local municipal regulations before setting up a system. A quick search for “[your state] rainwater collection laws” will give you a clear answer.
What Materials Do You Need?
Here’s what you need for a basic single-barrel system:
| Item | Purpose | Estimated Cost |
|---|---|---|
| 55-gallon food-grade barrel or ready-made rain barrel | Water storage | $20–$50 |
| Downspout diverter kit | Routes water from gutter into barrel | $15–$25 |
| 4 cinder blocks (or a purpose-built stand) | Elevates barrel for gravity-fed flow | $8–$12 |
| Window screen (optional) | Extra mosquito and debris filter | $3–$5 |
| Brass spigot (if barrel doesn’t include one) | Water access | $5–$10 |
Total: $30–$50 depending on your approach. University of Wisconsin–Madison Extension puts materials for a homemade rain barrel at $50 or less, and notes that reconditioned food-grade barrels of about 55 to 60 gallons work well (University of Wisconsin–Madison Extension).
Recommended Products
These diverter kits cover the common setups:
-
Anivia Downspout Diverter Kit (Amazon) — A diverter kit for standard downspouts; check the listing for the downspout sizes it fits.
-
Aquabarrel Diverter Kit (Amazon) — Chosen for its overflow-redirect feature: when the barrel is full, water routes back into the downspout instead of flooding your foundation.
-
EMSCO Deluxe Downspout Diverter (Amazon) — A diverter designed to pair with an existing barrel.
-
Want a complete kit right out of the box? The Rain Wizard 50-Gallon Barrel with Diverter Kit (Amazon) bundles a barrel with a diverter, so there is less to source separately.
Step-by-Step: How to Set Up a DIY Rain Barrel System
Step 1: Choose Your Location
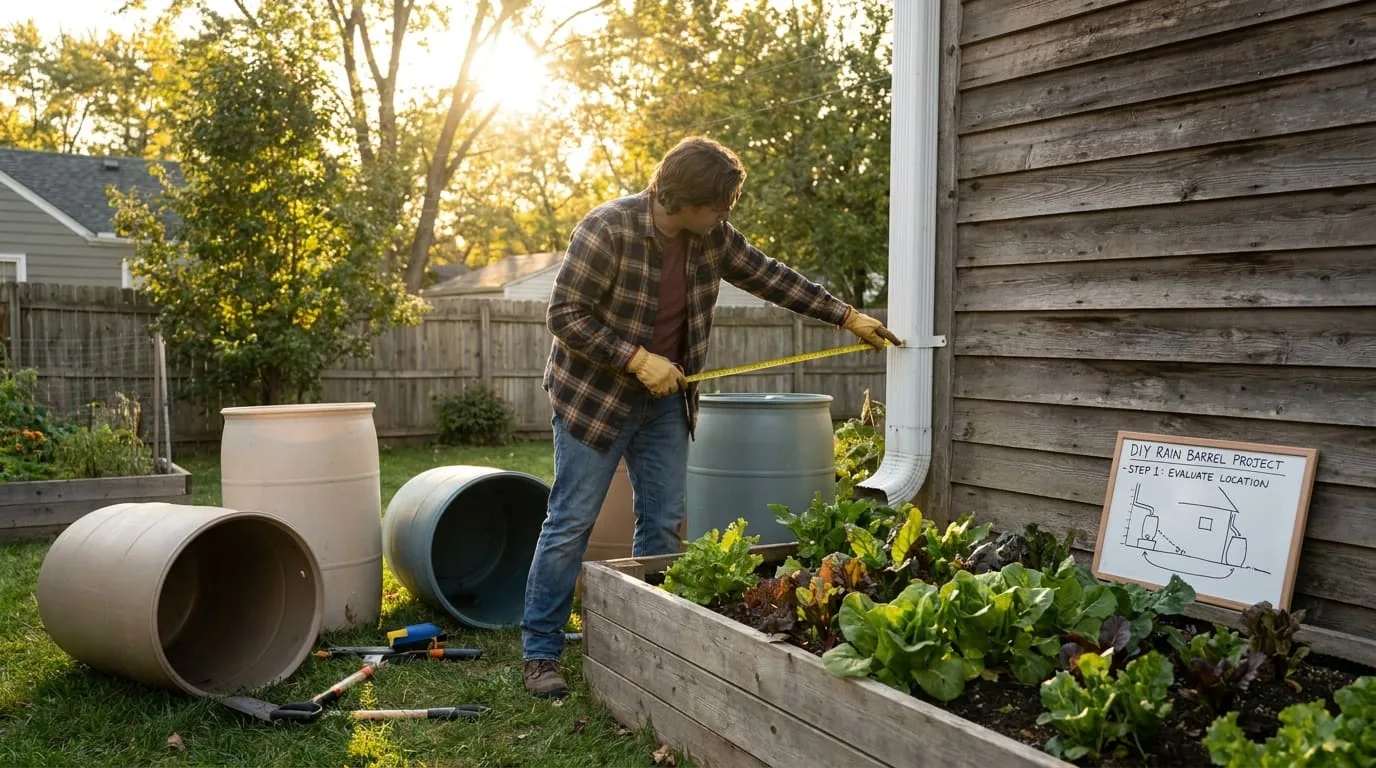
Pick a downspout near your garden. You want:
- A flat, stable surface
- Ground that can handle a heavy barrel (water weighs about 8 pounds per gallon, so a full 50-gallon barrel weighs roughly 400 lbs) (Oregon State University Extension)
- Proximity to your most-watered garden beds
Step 2: Elevate the Barrel
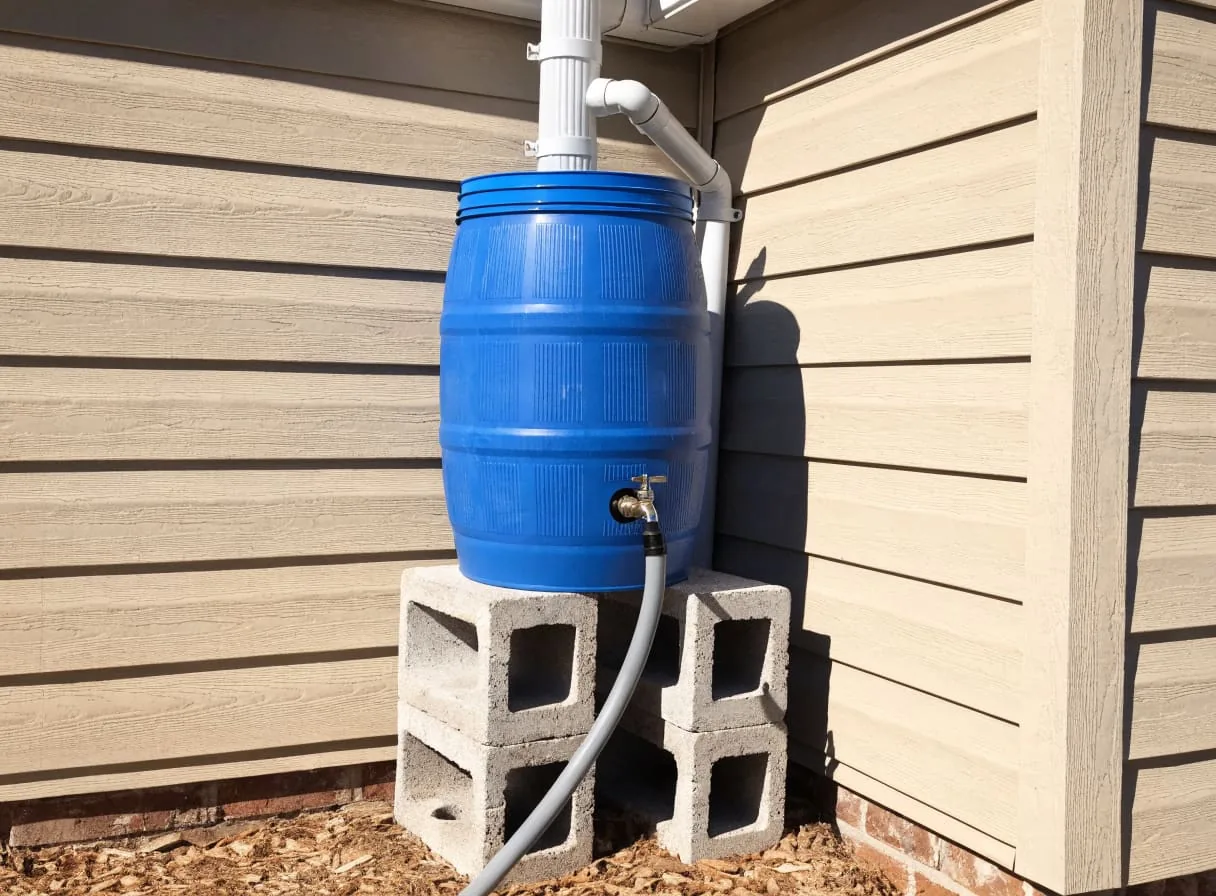
Stack 4 cinder blocks in a 2×2 arrangement and set your barrel on top. Elevation is crucial — it increases the pressure that lets water flow from the spigot into a watering can or hose (University of Wisconsin–Madison Extension). Without elevation, flow is too slow to be useful. Make sure the base is secure so the barrel cannot tip.
Step 3: Install the Downspout Diverter
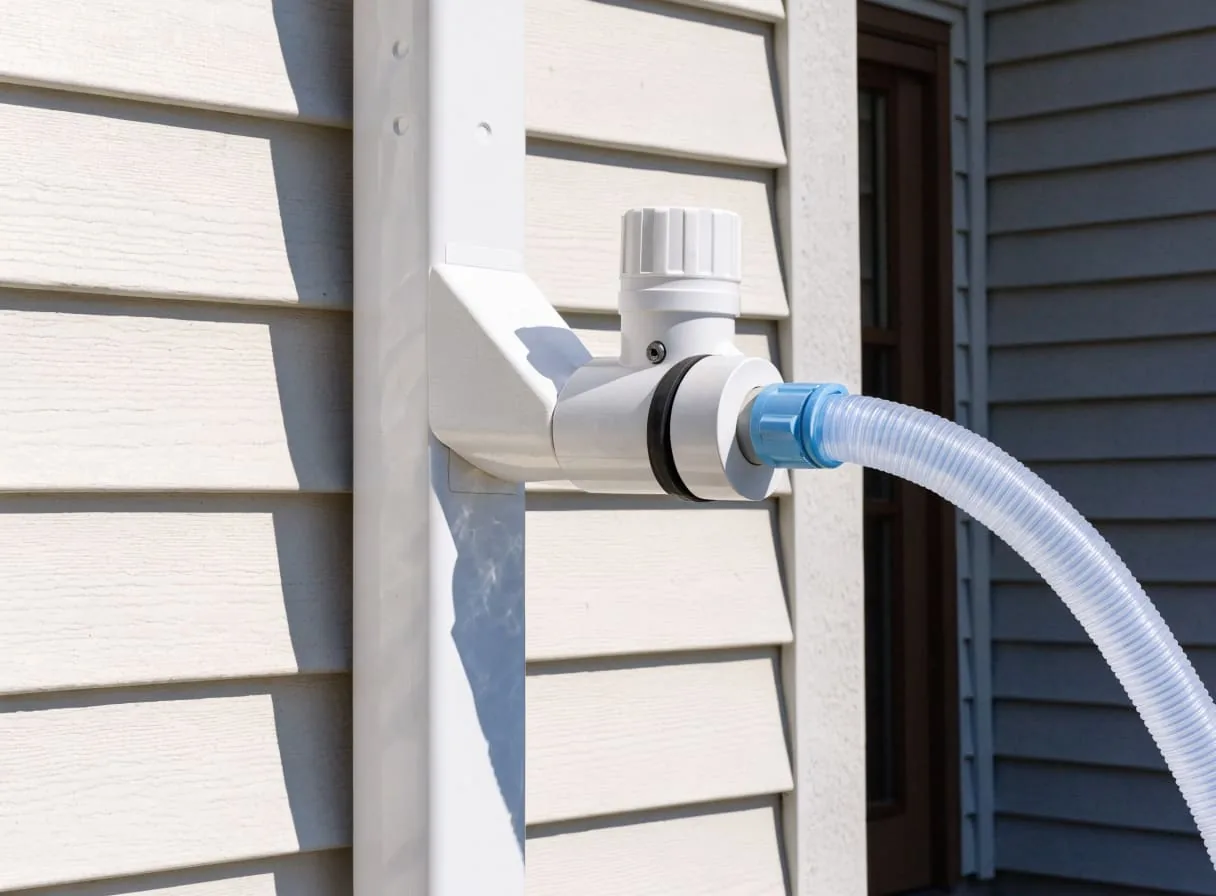
This is the core component. The diverter inserts into your existing downspout and routes water sideways into your barrel while automatically bypassing once the barrel is full.
General process (follow the included instructions for your specific kit):
- Measure and mark the downspout at the diverter height — typically level with the barrel’s inlet hole
- Use a hacksaw or tin snips to cut out the marked section
- Insert the diverter — most kits use a compression fit, no tools required
- Run the included hose from the diverter to the barrel’s inlet
If your barrel doesn’t already have an inlet hole, your kit should include a drill bit to create one.
Step 4: Add Overflow Protection
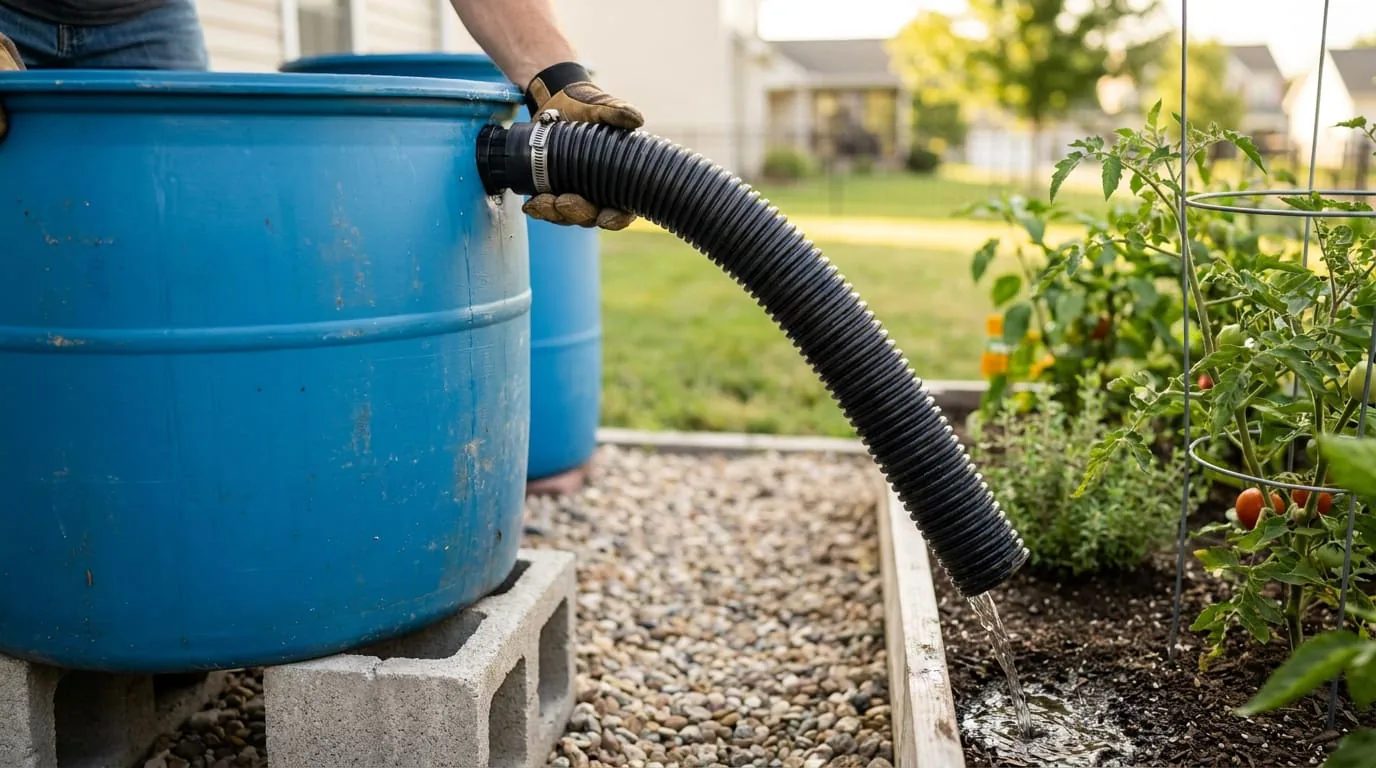
When the barrel fills, excess water must go somewhere — ideally back into the downspout or diverted away from your foundation.
Most quality diverter kits (like the Aquabarrel) handle this automatically with a built-in overflow bypass. If yours doesn’t, drill a second hole near the top of the barrel and attach a short hose directing overflow to a safe drainage area.
Step 5: Protect Against Mosquitoes
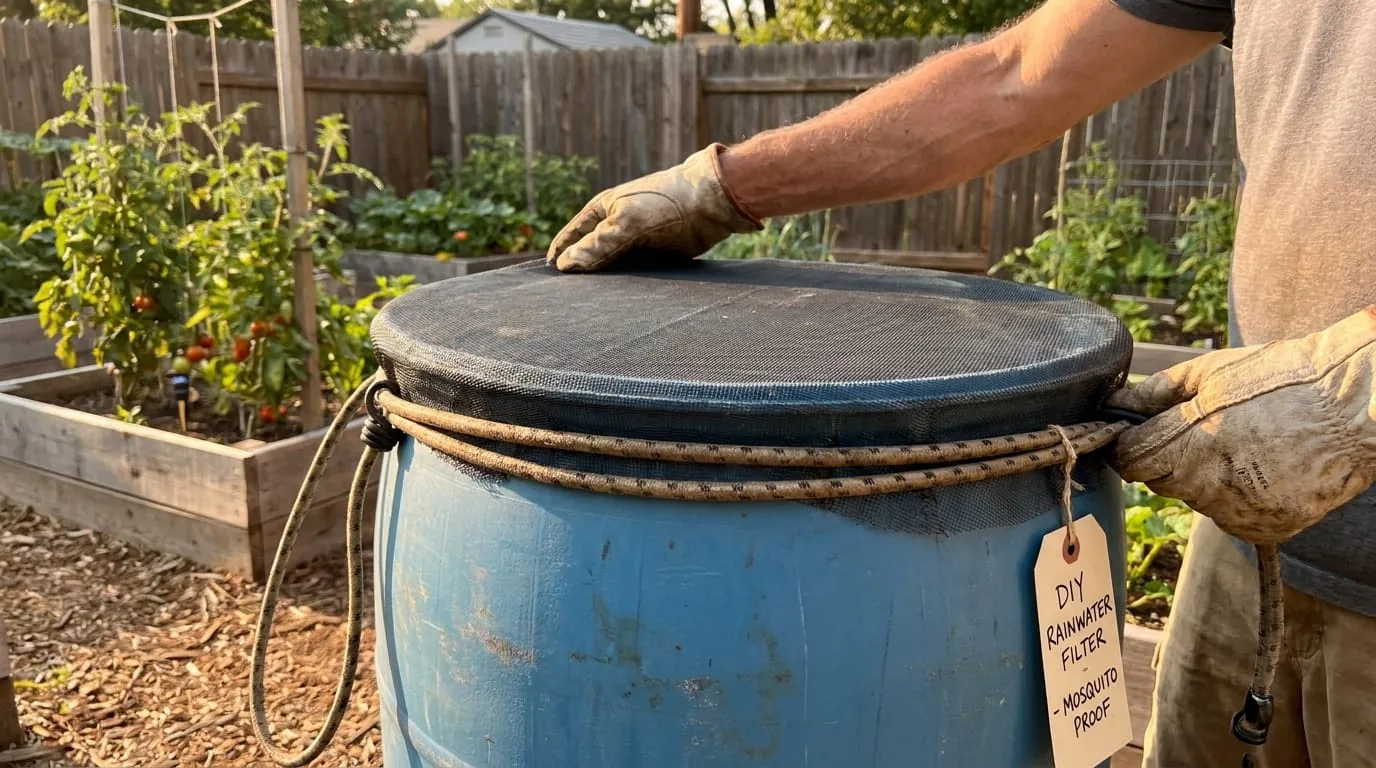
Standing water breeds mosquitoes. Two simple fixes:
- Keep the barrel top tightly sealed with no open gaps
- Place window screen over any open holes, secured with a bungee cord or zip ties
The CDC advises adding a screen where the water comes into the system, or emptying the rain barrel at least every 10 days (CDC).
Step 6: Test the System
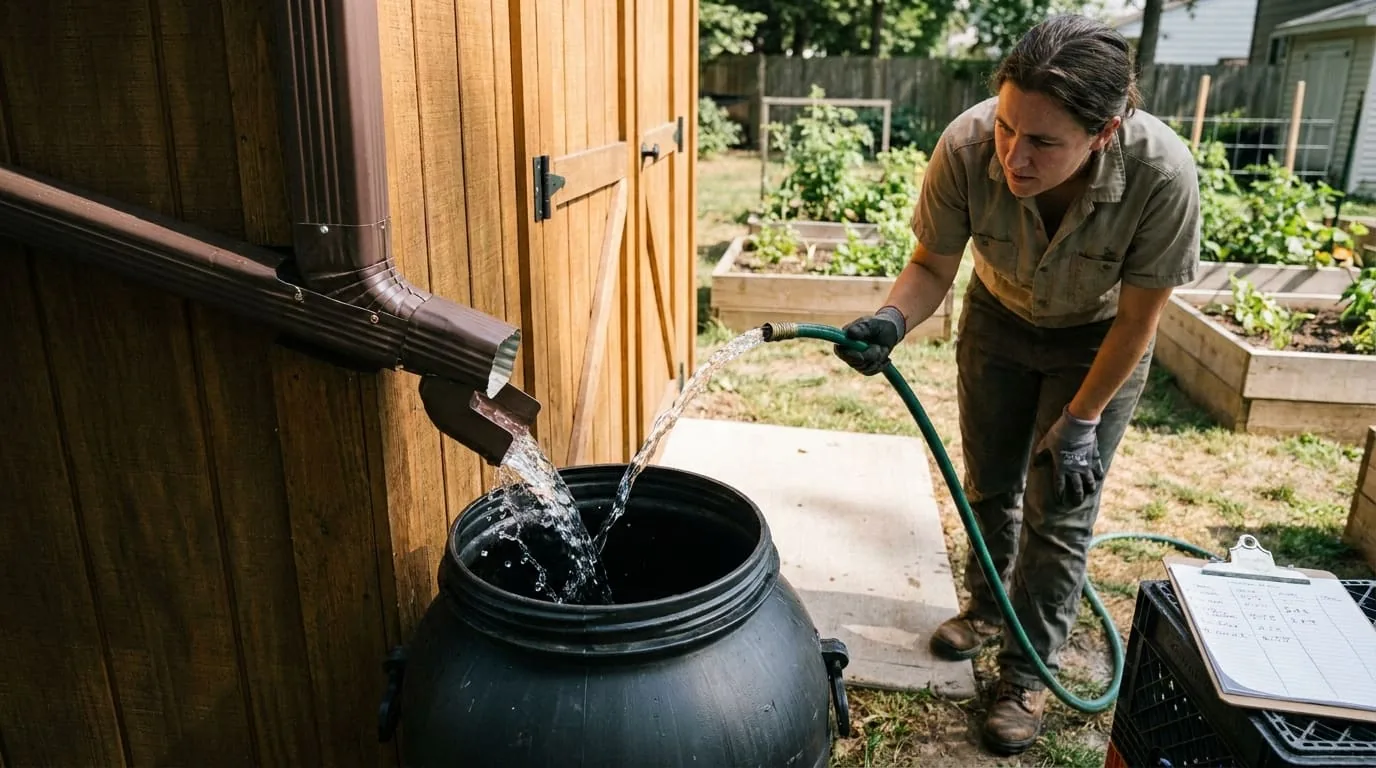
Run a hose into your gutter to simulate rain. Confirm:
- Water flows into the barrel through the diverter
- Overflow routes away from your foundation
- The spigot delivers steady flow when the barrel is elevated
That’s it. Your system is live.
How Much Water Can You Actually Collect?
For every inch of rainfall on a 1,000 sq ft roof surface, you can collect approximately 600 gallons.
Even a modest 0.5” rain event can fill multiple barrels. On the garden side, about 0.62 gallons equals 1 inch of water on 1 square foot (Oregon State University Extension), so a 50-gallon barrel delivers roughly 1 inch of water to about 80 sq ft of garden.
Troubleshooting a Rain Barrel System
A rain barrel is about as simple as backyard infrastructure gets, but a few predictable problems trip people up in the first season.
The barrel fills slowly or not at all. Almost always the diverter height or a clogged gutter. The diverter has to sit at or slightly above the barrel’s inlet, and if your gutters are packed with leaves, water never reaches the downspout in the first place. Clear the gutters before you blame the barrel.
Spigot flow is a trickle. This is elevation, not the spigot. Gravity pressure comes entirely from height — a barrel sitting on the ground barely flows, while one raised on cinder blocks delivers a usable stream. If you have already elevated it and flow is still weak, check the spigot screen for sediment.
Green water and algae. Algae needs light, and it can become a problem when barrels sit in direct sunlight (University of Wisconsin–Madison Extension). An opaque barrel with a sealed lid stays clearer; a translucent tote in full sun turns green. Keep the barrel covered and shaded, and use the water regularly.
Overflow pooling near the foundation. The overflow outlet is doing its job but pointing the wrong way. Route the overflow hose well away from the house — toward a garden bed, a swale, or a second barrel — so a heavy storm does not send water into your basement.
A cracked barrel after winter. Water expands as it freezes. In freeze-prone climates, drain and disconnect the barrel before the first hard freeze, and either store it or leave the spigot open so any residual water has somewhere to go.
Scaling Up: Linking Barrels and Sizing Storage
One 50-gallon barrel fills fast — often in a single moderate storm — and then overflows the rest of the rain away. If you are watering more than a small bed, capacity is the limiting factor, not collection.
The cheap fix is to link barrels in series. A linking kit connects the barrels near the top so the first one feeds the next as it fills, turning three barrels into 150 gallons off a single diverter. For a rough sizing target, each inch of water takes about 0.62 gallons per square foot, so one inch on a 200 sq ft garden is around 125 gallons, and Oregon State University Extension notes gardeners water about 2 inches per week in hot summer months (Oregon State University Extension). Two or three linked barrels cover about one inch for that bed between rains.
If you want to store serious volume for dry spells, the next step up is a food-grade IBC tote or a purpose-built cistern. In dry climates especially, storage capacity matters more than collection area — a big tank banks a rare storm and stretches it across weeks with no rain.
Keeping the Water Clean
Roof runoff carries grit, pollen, and whatever the birds left behind. Two low-cost additions keep your stored water usable. A first-flush diverter dumps the dirtiest initial runoff from each storm before it reaches the barrel, and a fine mesh screen over every opening blocks debris and mosquitoes. The CDC also suggests a first flush diverter to improve the quality of collected rainwater (CDC). Neither makes the water drinkable — roof-collected rainwater is for irrigation, as covered below — but both keep the system from silting up and going stagnant.
Tips From the Homesteading Community
- Link multiple barrels together for larger capacity. Linking kits chain barrels together off one diverter.
- Use the water actively — most rain barrel problems are avoided if water does not stand in the barrel for more than five to seven days (University of Wisconsin–Madison Extension). Rain barrels work best as active-use systems, not long-term storage.
- Do not drink it. Rainwater is not necessarily safe to drink without first removing germs and chemicals, and the CDC recommends tap water rather than rainwater for watering plants you plan to eat (CDC). Runoff from wood shingle, tar, gravel, or concrete roofs should not be used on vegetable gardens (Oregon State University Extension).
- Drain before winter in freeze-prone climates. A full barrel that freezes will crack.
Why Is a Rain Barrel Worth It?
A single barrel of municipal water costs little on its own. That sounds cheap — until you’re running sprinklers through a dry July and your water bill climbs.
More importantly, collecting your own water means you’re less dependent on utility pricing or availability, and harvested rainwater can cut city and well-water use for irrigation (Oregon State University Extension).
The barrier is low: a couple of hours, under $50, and you’re harvesting rain that would have soaked into your neighbor’s yard.
If you’re weighing catchment against gadgets, our rainwater vs. atmospheric water comparison runs the cost-per-gallon math.
Ready to Start?
Here are the fastest paths to get your system running:
- Start simple: Pick up the Anivia Diverter Kit (Amazon) and a food-grade barrel from a local feed store or Craigslist.
- Go all-in-one: The Rain Wizard 50-Gallon Complete System (Amazon) ships ready to install — no sourcing multiple components.
- Best overflow handling: The Aquabarrel Diverter Kit (Amazon) is the go-to for systems where foundation drainage is a concern.
Your garden doesn’t care where the water comes from. Your wallet will.
Frequently Asked Questions
- Is it legal to collect rainwater?
- Collecting rainwater is allowed in many places, and some states actively encourage it, but it is not allowed everywhere: the CDC notes that some states consider rainwater the property of the state and regulate its collection. Always check your state and local regulations before setting up a system.
- How much water can a rain barrel collect?
- For every inch of rainfall on a 1,000 sq ft roof, you can collect roughly 600 gallons, or about 0.62 gallons per square foot of roof per inch of rain. Even a modest 0.5-inch rain event can fill multiple barrels if enough roof area drains to them.
- Can you drink water from a rain barrel?
- No. The CDC says rainwater is not necessarily safe to drink without first removing germs and chemicals, and dirt and germs from the roof can wash into what you collect. The CDC also recommends tap water rather than rainwater for watering plants you plan to eat, and Oregon State University Extension says runoff from wood shingle, tar, gravel, or concrete roofs should not be used on vegetable gardens. Barrel water is best suited to ornamentals, lawns, shrubs, and trees. Use it actively rather than storing it: most problems are avoided if water does not stand in the barrel for more than five to seven days.
- How do you keep mosquitoes out of a rain barrel?
- Keep the barrel top tightly sealed with no open gaps and cover any open holes with fine mesh screen secured by a bungee cord or zip ties. The CDC advises adding a screen where water enters the system or emptying the barrel at least every 10 days so mosquitoes cannot breed.
Sources & references
Before you go
The Renter's Homestead Pack
Self-reliance projects for the yard you don't own — container yields, a raised bed built to move with you, balcony preservation basics, and the landlord questions to ask first.
Free guide
The Renter's Homestead Pack
Self-reliance projects for the yard you don't own — container yields, a raised bed built to move with you, balcony preservation basics, and the landlord questions to ask first.