Disclosure: This post contains affiliate links. If you click and purchase, we may earn a small commission at no extra cost to you. We analyzed independent reports and expert recommendations — we have not personally tested these products.
Every week, households send food scraps and yard waste to the landfill or incinerator that could have been composted at home (EPA). That is free fertilizer going straight into a trash bag. A DIY compost bin under $0 is the simplest fix — and it costs nothing if you source your materials the right way.
Composting has been called “nature’s recycling program” for good reason. Organic matter breaks down into a dark, crumbly, high-quality soil amendment. Finished compost helps soil absorb and hold water and slowly releases and retains nutrients (EPA). It is, in the most literal sense, garden gold.
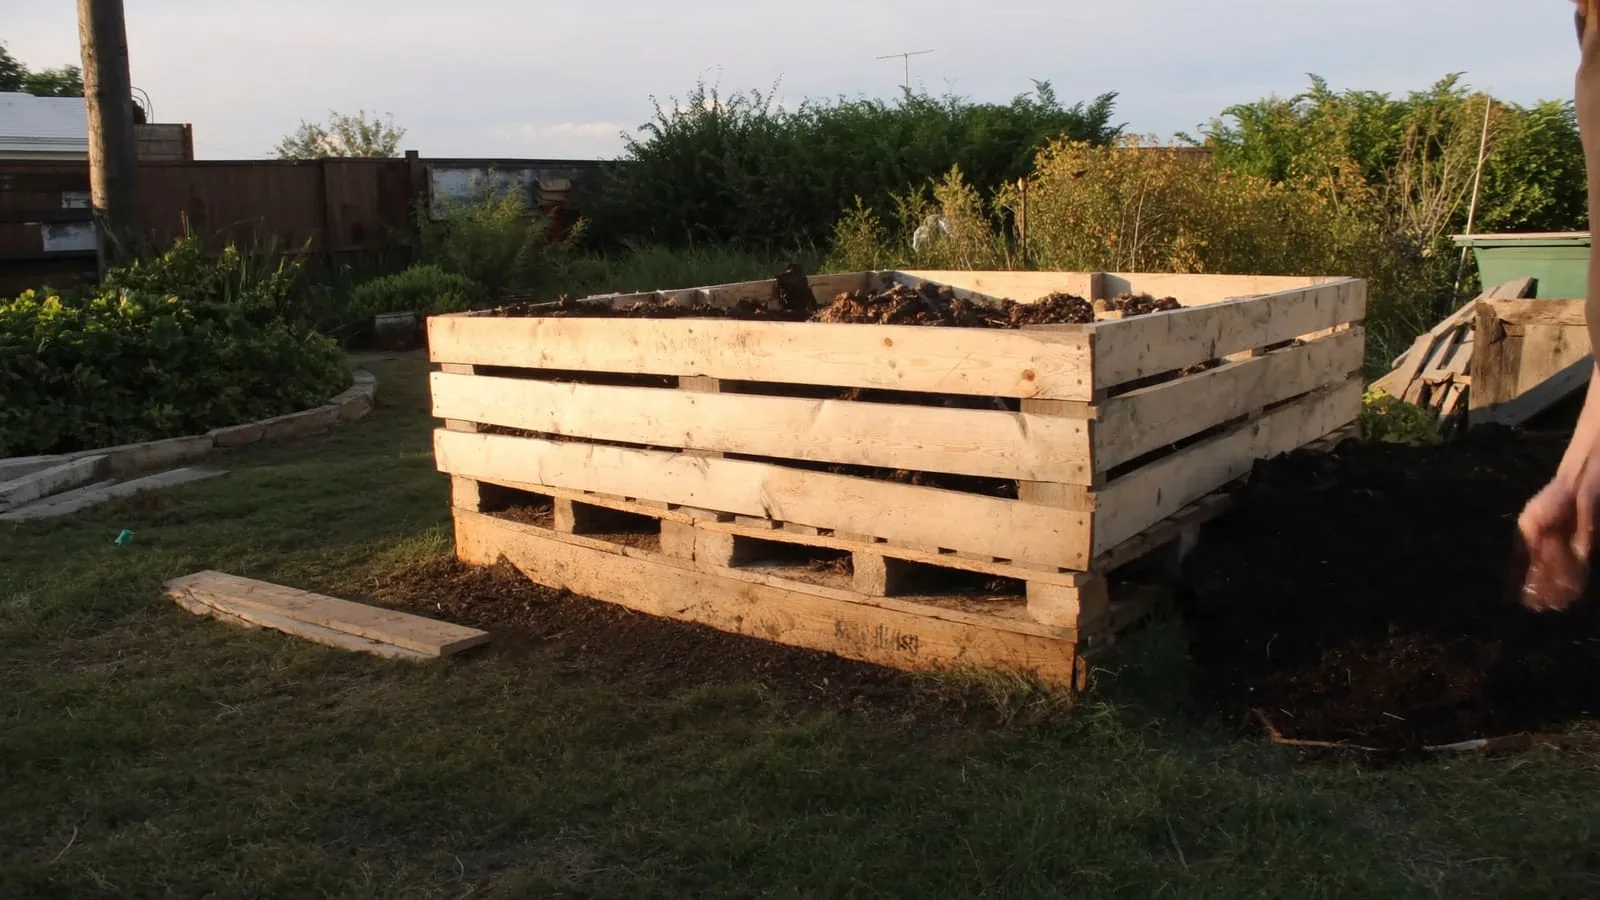
The barrier most people face is the idea that composting requires a fancy tumbler or a purchased bin. It does not. Composting involves minimal effort, equipment, and expense (EPA), and a simple open-frame bin built from salvaged pallets, scrap lumber, or a roll of wire does the job. The microbes doing the work do not care what the container looks like.
This guide walks you through building a fully functional compost bin from materials you can find for free, in a single afternoon, with no special skills required.
What You’ll Need
Free materials (sourced at zero cost):
- 3–4 wooden shipping pallets (check Craigslist, Facebook Marketplace, grocery store loading docks, or hardware stores — most give them away)
- Corrugated cardboard boxes (broken down flat)
- Old wire fencing, chicken wire, or hog wire — at least 10–12 feet
- Wire ties, zip ties, or salvaged baling wire
- Zip ties or heavy-duty staples for securing corners
- Leaves, straw, or dried grass clippings (collect from your yard or neighbors)
Low-cost tools and upgrades that experts recommend:
- A compost activator (Amazon) to kick-start decomposition if your pile is slow to heat up
- A compost thermometer (Amazon) to monitor internal temperatures and know when your pile is cooking correctly
- A garden pitchfork for turning (Amazon) — the right tool makes aeration significantly easier
- A compost aerator tool (Amazon) for injecting oxygen into the pile without full turning
Step-by-Step Guide
Step 1: Choose the Right Location
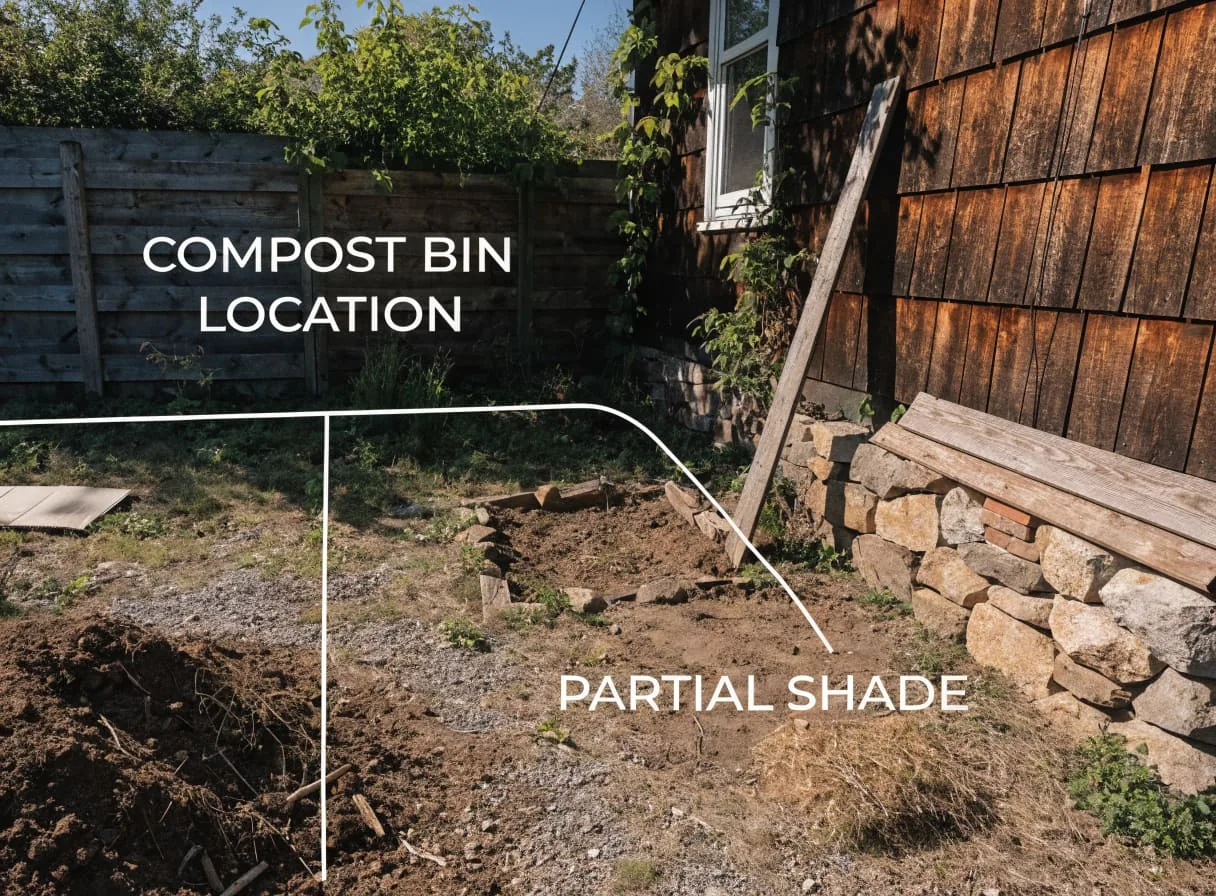
Location is more important than most beginners expect. The EPA recommends a spot that is easily accessible year-round, has good drainage, and has a water source nearby, and notes that a pile will break down in sun or shade (EPA). The site should also be level. Placing a bin in a low spot where water pools leads to anaerobic (oxygen-free) conditions that produce sulfur smells and sluggish decomposition. A gently sloping or flat area works best.
Proximity to your garden and kitchen matters for convenience. The shorter the walk to add scraps and collect finished compost, the more consistently you will maintain the bin, while some distance from the house keeps any occasional odor away from living spaces.
Step 2: Gather Free Materials — Pallets, Cardboard, and Wire
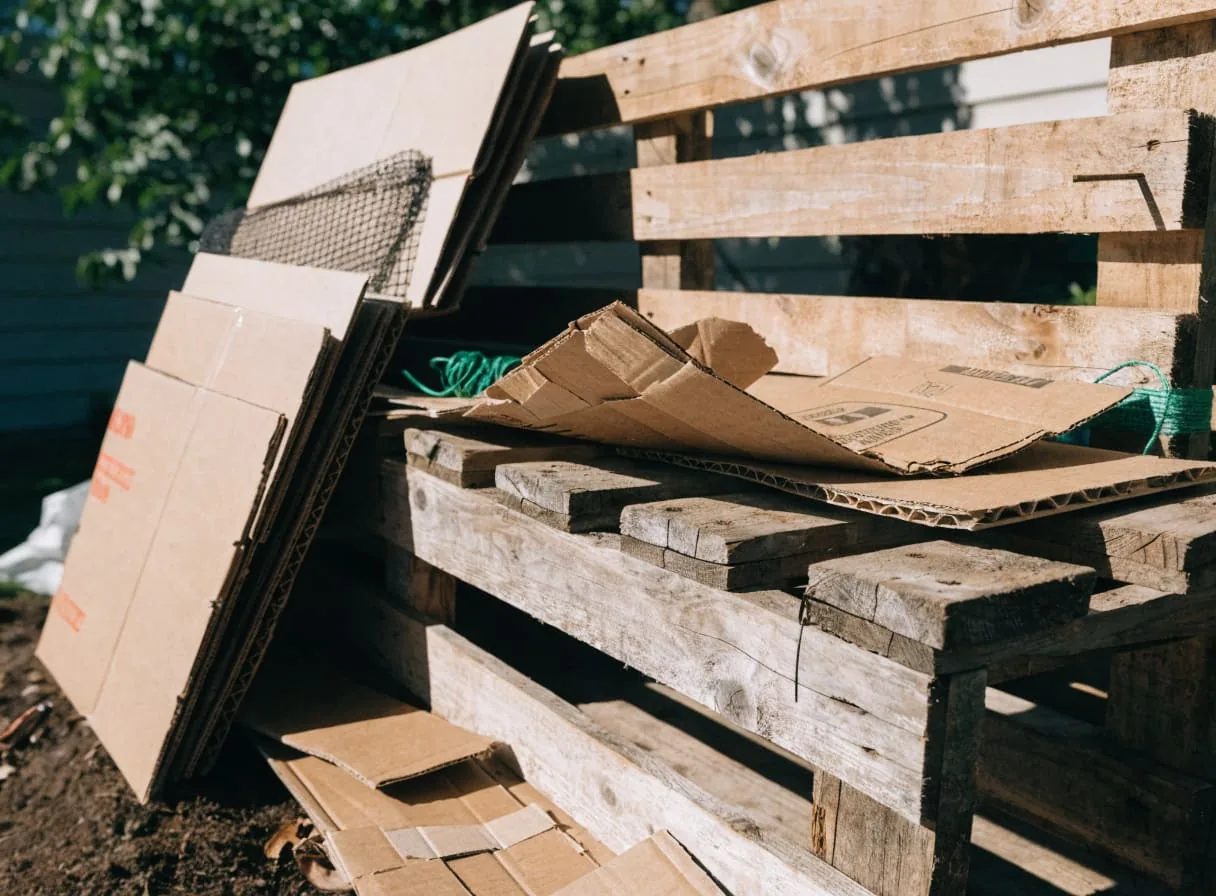
Wooden shipping pallets are the backbone of the most popular free compost bin designs. Look for pallets stamped “HT” (heat treated) rather than “MB” (methyl bromide treated) — methyl bromide is a toxic fumigant, and MB pallets should stay out of your garden; HT pallets are made without chemicals and are generally safe for garden use (UC Agriculture and Natural Resources). Penn State Extension says never to use MB pallets for any home project (Penn State Extension). Skip unmarked pallets unless you can confirm their history, and check any pallet for spills, stains, or odd odors.
Grocery stores, garden centers, farm supply shops, and furniture warehouses receive pallets continuously and often give surplus ones away; ask before taking any. Posting a request on your local Nextdoor or Facebook Marketplace community board usually turns up several within a day or two.
Cardboard serves double duty: it makes an excellent base layer that suppresses weeds and feeds worms, and it can be used to line the inside of a wire frame bin to keep finer material from falling through. Soak it briefly before placing to accelerate breakdown. Remove any tape or staples before adding it to the pile.
Step 3: Build the Frame
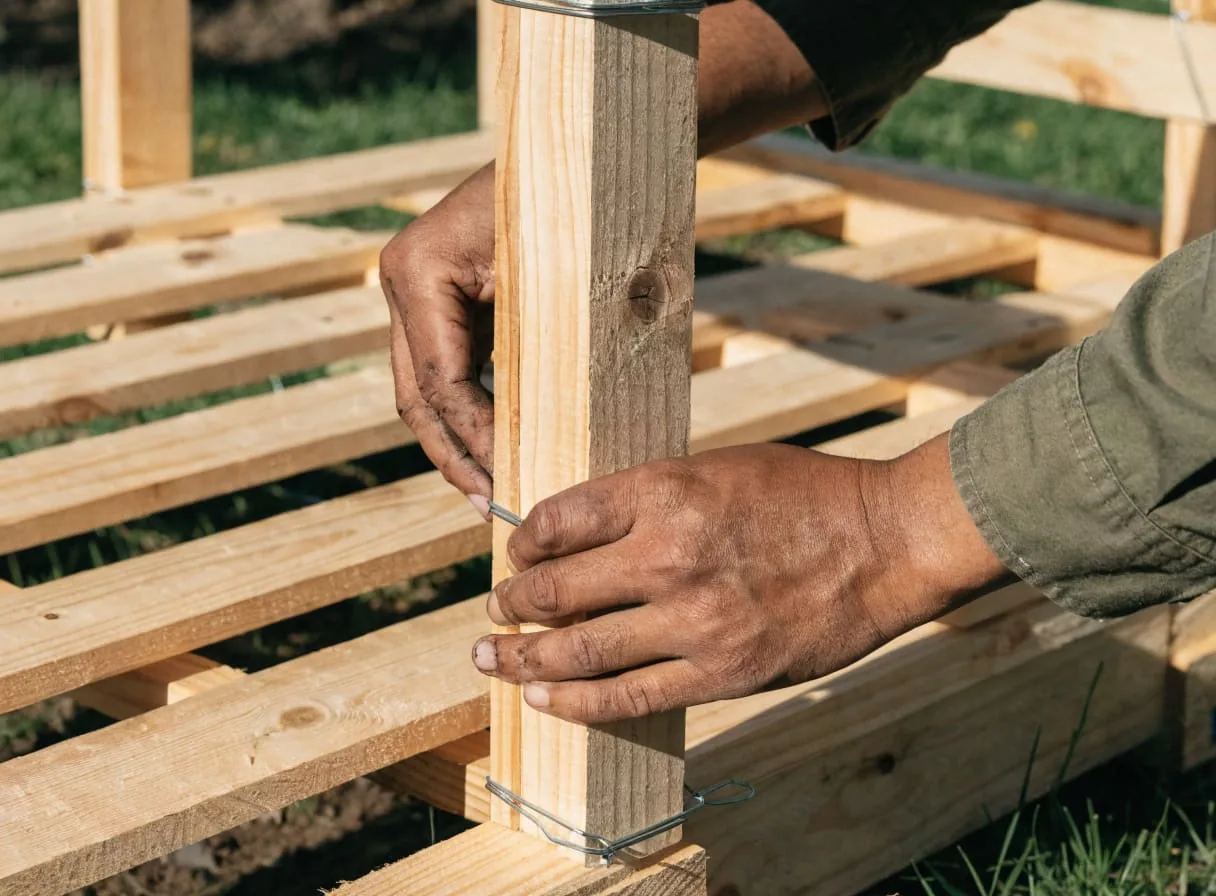
The simplest pallet bin uses three pallets wired into a U-shape. Stand two pallets parallel to each other about 3–4 feet apart, then wire a third pallet across the back to connect them. The open front gives you easy access for adding material and turning the pile.
Use heavy-gauge wire, zip ties, or salvaged baling wire threaded through the pallet slats at two or three points per corner. The structure does not need to be perfectly rigid — it just needs to hold the material in place and allow airflow through the gaps.
If you want a two-bin system (one active pile, one curing pile), simply add three more pallets beside the first unit, sharing one side wall. This setup lets you move finished material out while starting fresh batches.
Step 4: Layer Your Materials — Greens and Browns
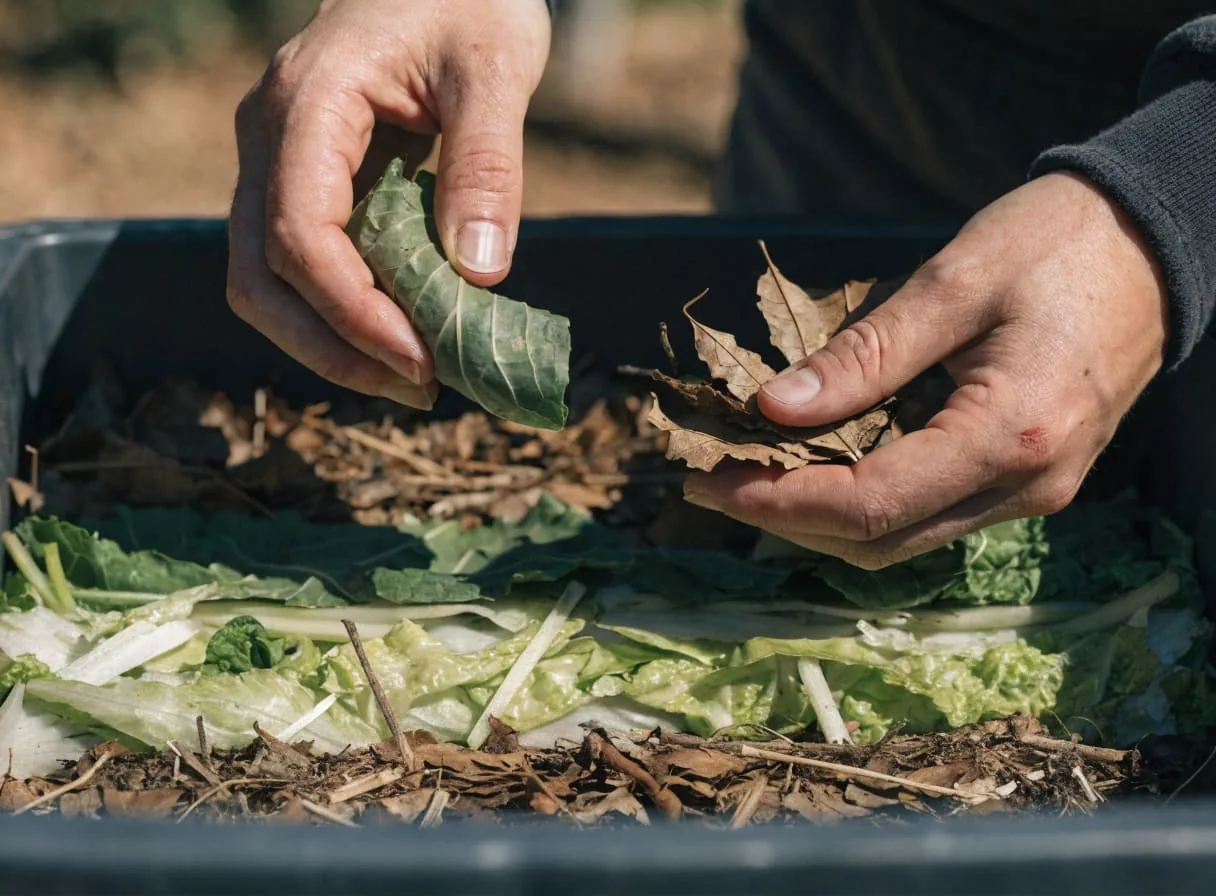
Successful composting depends on balancing two categories of material. “Greens” are nitrogen-rich items: fruit and vegetable scraps, coffee grounds, fresh grass clippings, and plant trimmings. “Browns” are carbon-rich: dry leaves, cardboard, straw, and wood chips. The EPA recommends two to three parts carbon-rich browns to one part nitrogen-rich greens (EPA).
Start with a 4-inch layer of coarse browns — wood chips or straw — at the bottom to allow airflow. Add 2–3 inches of greens, then cover with another layer of browns. Continue alternating. Each time you add kitchen scraps, cover them with a layer of dry leaves or cardboard to prevent odor and discourage pests.
Chop or shred material into smaller pieces whenever possible. Smaller pieces break down faster because they give microbes more surface area to work on. A machete, shovel, or lawnmower run over a pile of leaves works fine.
Step 5: Maintain Moisture and Aeration
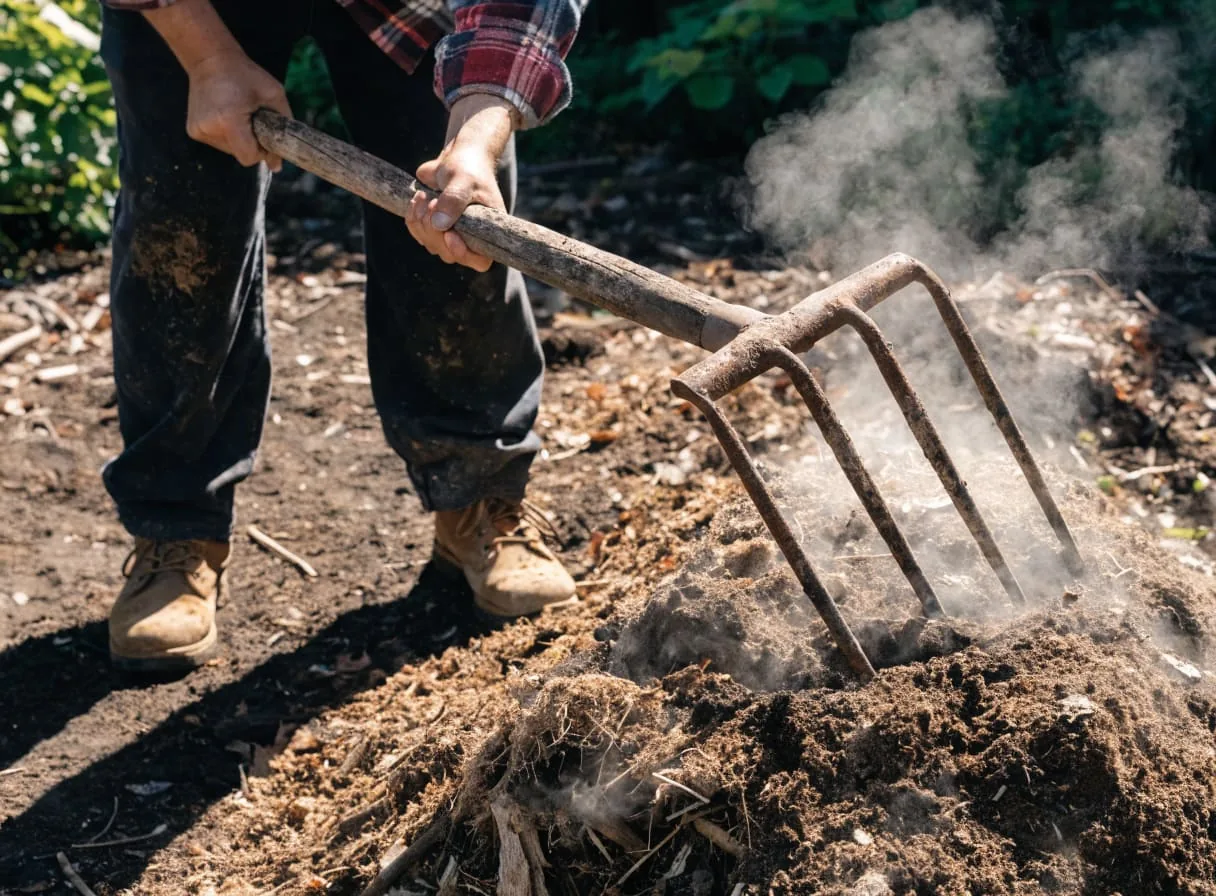
A properly maintained pile should feel like a wrung-out sponge — damp but not dripping. If it dries out, decomposition stalls. If it gets waterlogged, it turns anaerobic and starts to smell. During dry stretches, water the pile lightly with a hose. During heavy rain, cover it with a tarp or a sheet of cardboard.
Turning the pile introduces oxygen, which is the fuel microbial communities need to keep generating heat. A well-turned pile monitored with a compost thermometer (Amazon) can reach 130–160°F at its core — high temperatures help reduce pathogens and weed seeds (EPA). Turn the pile every 1–2 weeks for fast results, or less frequently if you prefer a slower, lower-effort approach — that trade-off is exactly the hot versus cold composting decision, and either method works in a pallet bin.
For bins with limited access, a compost aerator tool (Amazon) lets you inject air into the pile by simply plunging and twisting — no full turning required. This is particularly useful for smaller or tightly packed bins.
Step 6: Harvest Finished Compost
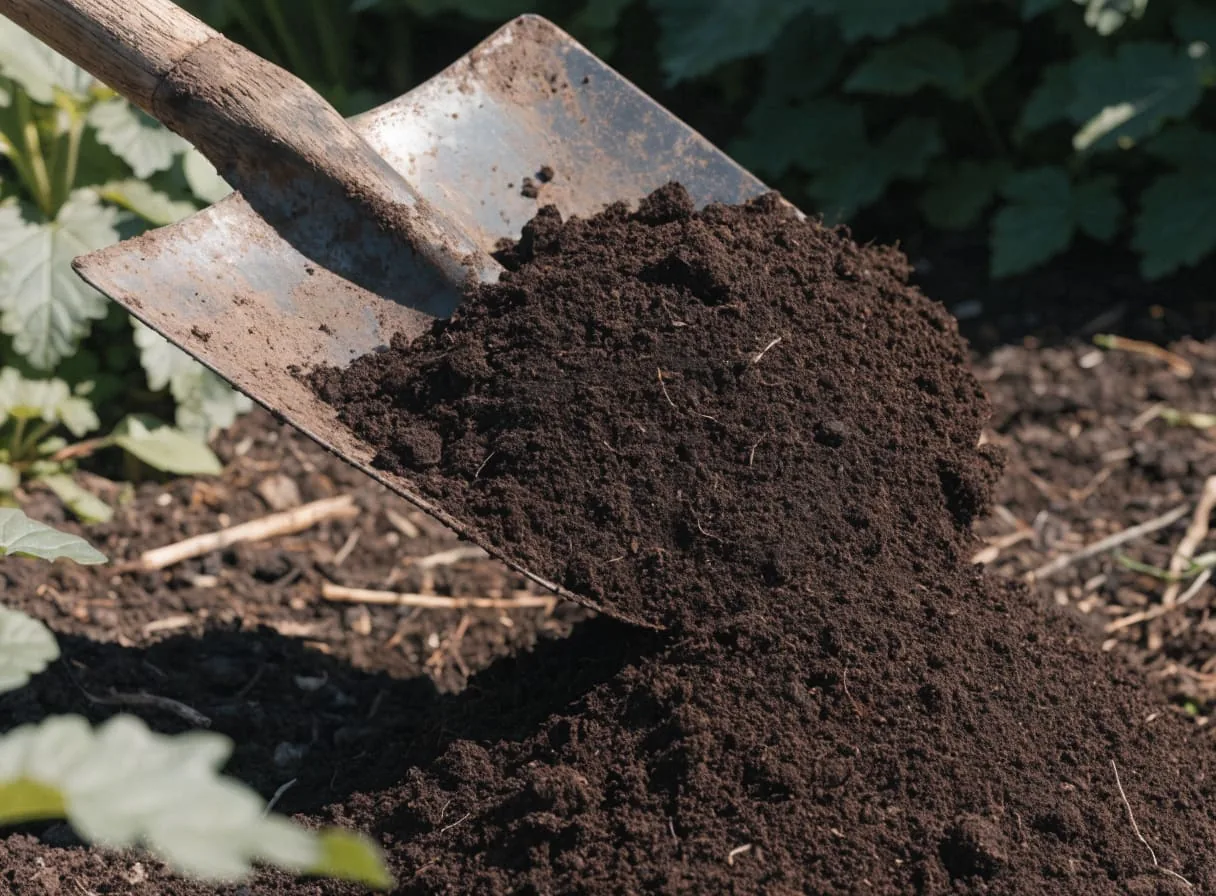
Finished compost looks and smells like rich, dark earth — not like the food scraps you put in. A well-maintained pile will be finished in about three to five months, while an untended pile may take a year (EPA).
To harvest, stop adding new material to the bin and let the remaining content cure for at least four weeks. Then shovel finished compost from the bottom and center of the pile — the oldest, most broken-down material concentrates there. Use a garden pitchfork for turning (Amazon) to move unfinished chunks back into the bin for another cycle.
Apply finished compost 2–3 inches deep to garden beds and work it lightly into the top layer of soil.
Pro Tips
- Coffee grounds are green, not brown. Many people treat them as neutral, but grounds are nitrogen-rich and should be balanced with extra cardboard or leaves.
- Eggshells are slow. Crush them before adding — shells often don’t fully break down, and the EPA suggests sifting them out of finished compost and adding them back to the active pile.
- Activate a slow pile. If your pile is not heating up, a compost activator (Amazon) can help restart decomposition.
- Never add meat, dairy, or oily foods to an open bin — these attract rodents and create significant odor problems. Keep the bin to plant-based scraps and yard waste.
Why This Is Worth It
Beyond the free fertilizer, building a compost bin from salvaged materials is a direct act of self-reliance. Buying bags of synthetic fertilizer year after year is expensive and does nothing to improve the underlying soil structure. Compost does both — it feeds plants and builds the soil ecosystem simultaneously.
The sustainability dimension is real too. Food waste in landfills generates methane, a greenhouse gas at least 28 times more effective than CO2 at trapping heat over a 100-year period (EPA). Every pound diverted from the trash and returned to your soil is a closed loop that costs nothing and produces something valuable. For anyone committed to backyard self-sufficiency, composting is not optional — it is the foundation everything else is built on.
Final Thoughts
A DIY compost bin under $0 is one of the highest-return projects any backyard gardener can tackle this season — free inputs, free outputs, and a direct boost to every food bed you tend. If this guide was useful, share it with a neighbor who is still sending kitchen scraps to the landfill, and check out our related posts on building a raised garden bed from pallets and setting up a vermicomposting worm bin to put that finished compost straight to work.
Frequently Asked Questions
- What can you compost in a DIY bin?
- Fruit and vegetable scraps, coffee grounds and paper filters, paper tea bags (no staples), crushed eggshells, grass clippings, dry leaves, plant stalks and twigs, shredded cardboard (tape removed), and untreated wood chips are all compostable, according to the EPA. Avoid meat, fish, bones, dairy, fats and oils, diseased or pest-infested plants, weeds with seeds, herbicide-treated plants, treated or painted wood, and pet waste.
- How long does compost take to finish?
- According to the EPA, compost in a well-maintained pile will be finished in about three to five months, while a pile left untended may take a year. Turning the pile from time to time, keeping it moist, chopping material small, and keeping a good brown-to-green ratio all speed the process.
- Are pallet compost bins safe for food gardens?
- Pallets stamped HT (heat-treated) are made without chemicals and are generally considered safe for garden use. Avoid pallets stamped MB (methyl bromide), a toxic fumigant; Penn State Extension says never to use MB pallets for any home project. UC Agriculture and Natural Resources advises against using unmarked pallets unless you can confirm their history, and to check any pallet for spills, stains, or unusual odors.
Sources & references
Before you go
The Renter's Homestead Pack
Self-reliance projects for the yard you don't own — container yields, a raised bed built to move with you, balcony preservation basics, and the landlord questions to ask first.
Free guide
The Renter's Homestead Pack
Self-reliance projects for the yard you don't own — container yields, a raised bed built to move with you, balcony preservation basics, and the landlord questions to ask first.