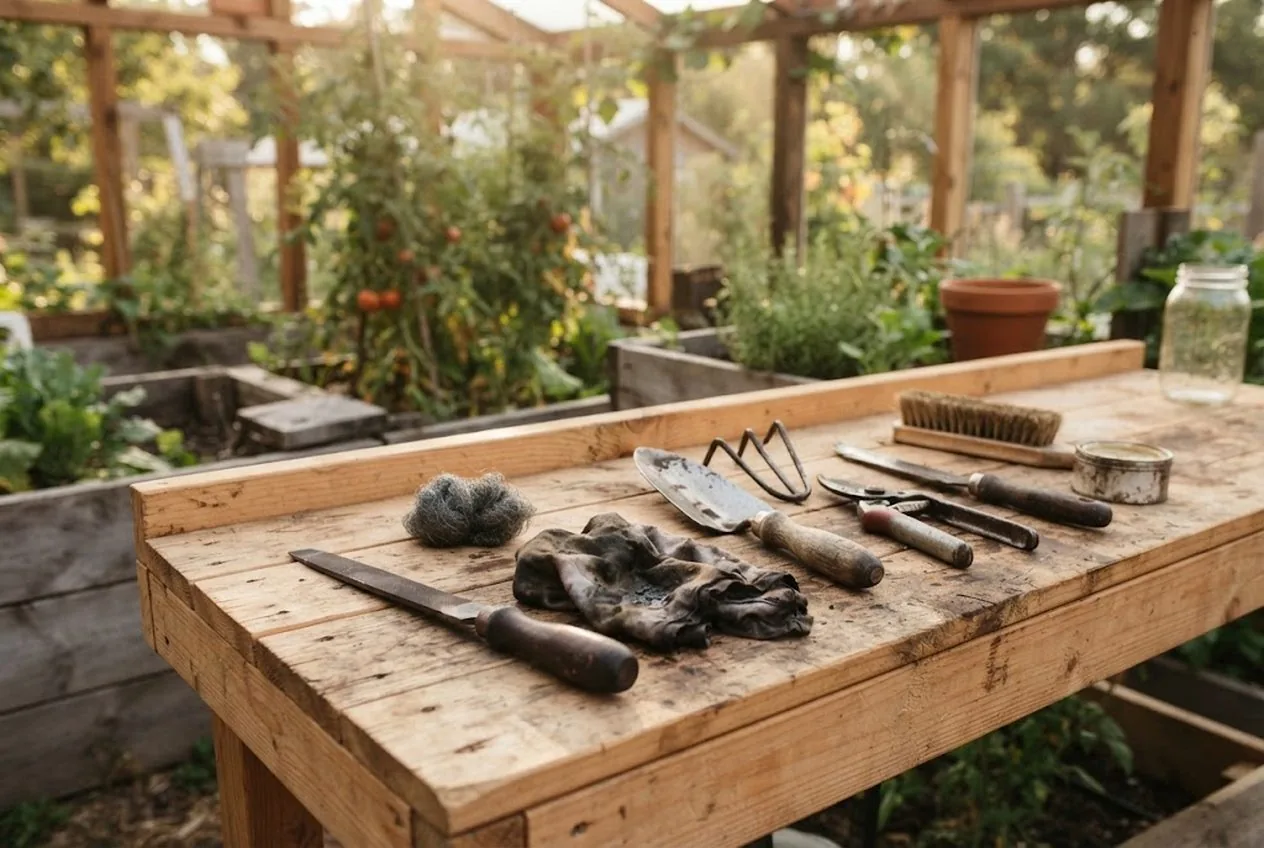
The last job of the garden year is the one that decides how the next one starts. Tools shoved into the shed still caked with soil, dull from a season’s work, and damp from the last rain come out in spring rusted, blunt, and sometimes ruined — and a good spade or a quality knife is too expensive to replace on neglect. Spend an evening cleaning, sharpening, and oiling them before they sit idle, and they’ll come out of storage exactly as sharp and sound as they went in.
The short version: clean off every trace of soil, sap, and rust down to bright metal, restore the cutting edges with a file or stone, then protect the metal with a light oil and the wooden handles with boiled linseed oil before storing everything dry and off the ground. It’s about two hours of work for a whole shed’s worth of tools, and it’s the highest-return maintenance you’ll do all year. Here’s the routine, step by step.
This is the perfect job for the first cold, dark evenings after the outdoor work is done — it needs no open ground, just a bench and a bit of patience.
Why Fall Tool Care Pays Off
The enemy of every garden tool is moisture, and winter storage is where it does its worst. Soil clinging to a blade holds water against the steel; sap and plant residue trap it; and any bare metal left exposed will slowly corrode in a humid shed over months of idleness. Wooden handles left dry, meanwhile, split and splinter as they lose and regain moisture through the cold.
A proper fall overhaul breaks that cycle. Clean metal can’t rust under soil that isn’t there; a coat of oil seals out the moisture that remains; and oiled handles stay supple instead of cracking. The payoff is tools that last far longer (University of Illinois Extension), and a spring where everything is ready to work on day one instead of needing an emergency sharpening and de-rusting first.
Step 1: Gather and Sort Your Tools
Bring everything you want to overwinter to one place — spades, forks, hoes, rakes, pruners, knives, and the bigger implements like a broadfork. Sort as you go: set aside anything with a broken handle or a loose head for repair first, since there’s no point maintaining a tool that won’t hold together. Group the rest into cutting tools that need sharpening and digging tools that mainly need cleaning and oiling, so you can work through them in batches.
This is also the moment you notice which tools you actually reached for all season and which you didn’t — useful information when you’re planning next year’s purchases.
Step 2: Clean Off Soil, Sap, and Rust
Start by scraping and brushing off caked soil, then wash the metal and rinse it clean. Sticky sap and plant residue — the stuff that gums up pruners and knife blades — comes off with a solvent or hot soapy water and a scrubbing pad.
Then deal with rust. For light surface rust, steel wool or a wire brush brings back clean metal quickly; for heavier or pitted corrosion, work it with sandpaper or a file until the steel is bright again. The rule is simple: get to clean, bare metal before you go any further, because any rust left behind just keeps working under the oil you’ll apply later. Finally — and this matters — dry every tool thoroughly. Leftover moisture is the exact thing this whole routine exists to eliminate.
A hori-hori knife is a good example of a tool that rewards this care. Its steel blade, serrated on one edge and often used for everything from digging to cutting roots, picks up sap and soil all season and dulls with hard use, so it comes back to life beautifully after a clean, sharpen, and oil.
Disclosure: the product links here are affiliate links, so we may earn a commission if you buy through them at no extra cost to you. This routine follows long-standing tool-maintenance practice, not brand marketing.
Step 3: Sharpen Every Cutting Edge
A dull tool is harder work and does a worse job — a blunt spade tears roots and a dull pruner crushes stems instead of slicing them. Fall is the time to put every edge right.
Use a flat mill file for the heavy edges: spades, hoes, and the tines of a broadfork all take a working edge from a few strokes of a file. Follow the tool’s original bevel angle (University of Illinois Extension), file in one direction, and stop when you have a clean, even edge — digging tools need to be sharp, not razor-sharp. For finer edges — knives, pruners, and the like — hone on a sharpening stone at the factory angle until they’ll slice cleanly.
A broadfork is worth special attention here, because its whole job is penetrating compacted soil, and sharp tines slide in where dull ones fight you. A quick file along each tine each fall keeps it working the way it should for the next season’s bed prep.
If your broadfork has earned its keep this year, it’s the centerpiece of our no-till method in building fall garden soil with coco coir and a broadfork.
Step 4: Oil the Metal
With every tool clean, dry, and sharp, seal the metal against winter moisture. Wipe a thin, even coat of light machine oil (or a silicone spray) over all the bare steel (UNH Extension), working it into pitted areas and joints where rust likes to start. This oil film is the barrier that stops corrosion returning during months in a humid shed, so cover the parts you can’t easily see, not just the shiny face of the blade.
A quick note on safety: use boiled linseed oil, not raw, which dries far more slowly — and dispose of oily rags carefully, because linseed-soaked rags can spontaneously combust. Spread them flat outdoors to dry, away from buildings, then store them in a tightly covered metal container filled with water and detergent (NFPA).
Step 5: Treat and Protect Wooden Handles
Don’t stop at the metal — the handles need the same care. Sand any rough or splintered spots smooth so they won’t give you a splinter next spring, then rub boiled linseed oil into the bare wood and let it soak in (UNH Extension). The oil feeds the wood and seals out the moisture that causes the cracking and splintering that ruin handles left dry all winter. Wipe off the excess and let it dry fully.
A handle treated each fall stays smooth, strong, and comfortable for the life of the tool — and replacing a split handle mid-season is exactly the annoyance this five minutes prevents.
Step 6: Store Them Dry and Off the Ground
The last step protects all the work you just did. Hang the finished tools on a wall rack, or stand them handle-down so the blades aren’t resting on a damp floor, in the driest, most sheltered spot you have. Storing tools off the ground keeps floor moisture away from the metal and keeps a pile of sharp implements from becoming a hazard.
Give the metal a final wipe of oil as it goes up if the shed runs humid, and you’ve got the best possible insurance against a winter of condensation.
A Two-Hour Job That Lasts for Years
Clean, sharpen, oil, and store dry — six steps and about two hours turn a shed full of tired, dirty tools into a set that comes out of winter ready to work. It’s the quiet, satisfying end to the garden year, and it’s the difference between tools that last decades and tools you keep replacing. (Tool care is one of the crafts the classic references teach — Storey’s Basic Country Skills, from our Storey’s Country Skills vs The Backyard Homestead comparison, includes skills like sharpening an axe (Hachette Book Group), and it makes good woodstove reading once the shed is locked.) While you’re out there, give any other hardworking gear the same once-over: a compost tumbler keeps spinning into early winter if it’s clean and dry, and a manual well pump should be drained or protected before a hard freeze finds it.
With the tools put away, you’ve reached the end of the fall list. If you’re still working through the rest of it, our roundup of fall homestead projects to finish before the ground freezes covers everything else worth doing before winter closes the door — soil, compost, season extenders, and more.
Frequently Asked Questions
- Why do garden tools need to be cleaned before winter storage?
- Because tools put away dirty and damp are what rust and rot over the idle months. Soil holds moisture against steel, sap and plant residue trap it, and any bare metal left exposed will corrode in a humid shed all winter. A tool cleaned, dried, sharpened, and oiled before storage comes out in spring exactly as it went in — sharp and sound — while a neglected one comes out rusted, dull, and sometimes ruined. Fifteen minutes per tool in fall saves you replacing them later.
- What oil should I use on garden tools?
- Boiled linseed oil is the traditional choice for wooden handles — it soaks in and helps prevent drying and cracking. For the metal, a light machine oil or silicone spray is the standard rust preventive. Avoid raw linseed oil, which dries far more slowly, and always dispose of oily rags safely because they can spontaneously combust.
- How do I get rust off garden tools?
- For light surface rust, scrub with steel wool, a wire brush, or a coarse abrasive pad until you reach clean metal. For heavier rust, soak the tool or work the spot with a stiff wire brush, and for pitted, badly corroded steel a few passes with sandpaper or a file will bring it back. The goal is bright, clean metal before you sharpen and oil — any rust left under the oil just keeps working. Once it's clean, a coat of oil is what stops it returning.
- Do you need special equipment to sharpen garden tools?
- No — a mill file and a sharpening stone cover almost everything. Use a flat mill file to restore the primary bevel on spades, hoes, and broadfork tines, and a stone to hone knives, pruners, and finer edges. Keep to the tool's original bevel angle and file in one direction. Digging tools only need a working edge, not a razor edge, so this is quick, forgiving work. Powered grinders are faster but easy to overheat an edge with, so a file is safer for a beginner.
- How should garden tools be stored over winter?
- Clean, dry, oiled, and off the ground. Hang tools on a wall rack or stand them handle-down so blades aren't sitting on a damp floor, and keep them somewhere sheltered and as dry as possible. Storing tools off the ground prevents both rust from floor moisture and the accidents of a pile of sharp implements. A quick wipe of oil on the metal before they hang up is the final insurance against a winter of humidity.
Sources & references
Before you go
The Renter's Homestead Pack
Self-reliance projects for the yard you don't own — container yields, a raised bed built to move with you, balcony preservation basics, and the landlord questions to ask first.
Free guide
The Renter's Homestead Pack
Self-reliance projects for the yard you don't own — container yields, a raised bed built to move with you, balcony preservation basics, and the landlord questions to ask first.