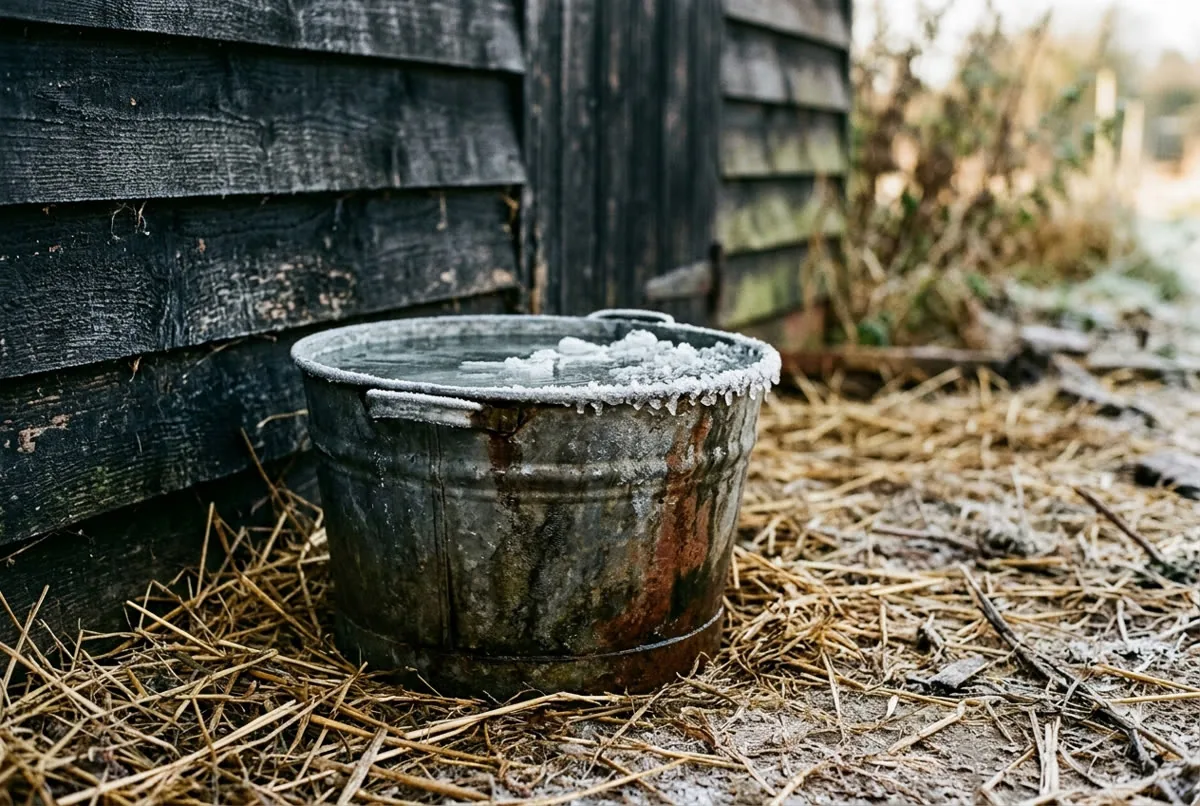
Below-zero nights turn a chicken waterer into a solid block of ice by morning, and chickens without water will stop eating (University of Minnesota Extension). Chasing the ice out with a hammer or hauling warm water to the coop twice a day works, but it eats mornings you don’t have during a hard freeze. The fix is less about buying one product and more about combining placement, container design, and, where it makes sense, a properly wired heat source. The setups holding up through a whole winter are usually a few boring decisions made correctly and repeated daily, not one clever gadget.
The short answer: Place the waterer in a draft-protected but still-ventilated spot, add a correctly sized heated base or plug-in heated waterer wired to code, and keep a deep, dark-colored backup container on hand along with a twice-daily check, since design and modest heat, not sheer water volume, are what keep coop water usable in deep cold.
Why Open Water Freezes Faster Than You’d Guess
A wide, shallow pan looks generous, but it is the worst shape for winter. More exposed surface area means more contact with cold air, so a wide pan skins over faster than a narrower, deeper container holding the same amount of water. Depth and a small opening do more for freeze resistance than topping off the volume.
Container material matters too. A black rubber tub absorbs more of whatever weak winter sun the coop gets than a light-colored plastic or metal one. Rubber also flexes, so it is easier to knock a skin of ice loose without cracking the container the way a rigid plastic waterer can. None of this replaces active heat during a real cold snap, but it buys some time before a container goes solid.
The other free lever is frequency. Swapping water twice a day, once in the morning and once before dark, keeps a non-heated setup usable through moderate cold with no powered equipment at all. It costs labor, not gear, and it is a reasonable baseline before you decide whether a heater is worth adding.
Whichever container you run, check it at the same two times every day rather than whenever you happen to pass the coop. A consistent schedule catches a partially frozen waterer before it goes fully solid, and it makes it obvious fast whether your current setup is actually holding through the coldest part of the night or just getting lucky on milder ones.
Where to Put the Waterer in the Coop
Placement does almost as much work as the container itself. A spot against an exterior wall or in a straight path of wind loses heat fast, while a corner shielded from drafts but still open to airflow lets the ambient temperature inside the coop and the birds’ own body heat slow the freeze without trapping moisture. Ventilation still matters in winter: a sealed-up coop holds humidity from droppings and respiration, and that damp air is what causes frostbite on combs and wattles, not the cold by itself (University of Minnesota Extension). Draft-protected and well-ventilated are not opposites here; the fix is a shielded spot with airflow above bird height, not a closed box.
If your coop’s layout was never planned with a windbreak in mind, DIY Backyard Chicken Coop for 4–6 Hens (Under $300) covers the layout choices that make a sheltered corner easier to build in. Winter is also when other coop upgrades tend to get evaluated together; if you’re weighing a related decision on the same schedule, see Automatic Coop Door vs Manual: Worth It for Winter?
Plug-In Heated Waterers: What They Solve and Where the Risk Lives
A heated base or a plug-in heated waterer keeps a small reservoir above freezing by running a low-wattage element that cycles on as the water nears the freezing point. We already cover one specific product’s power draw and pre-buy checks in a dedicated review, “Heated Chicken Waterer Review: Does It Stop the Freeze?” (Backyard Freedom Lab, 2026-09-02); this piece is about the setup and safety decisions that apply no matter which heated waterer you land on.
The core tradeoff is real. A properly sized and installed heated unit can keep a small reservoir liquid through the coldest nights, but it introduces an electrical load and a heat source into a space with dry bedding, dust, and droppings, which raises fire and shock risk if it is installed carelessly (University of Minnesota Extension; NFPA, 2018).
Sizing the Heater to Your Flock
Match the unit to the reservoir it needs to keep from freezing, not to the coop as a whole. An undersized heater run flat out during a hard freeze is both ineffective and hard on the equipment, while an oversized one wastes power for no real benefit. Follow the manufacturer’s stated wattage and reservoir size rather than guessing at either.
The Cord and Outlet Rules That Matter
A common assumption is that any extension cord run out to the coop is fine as long as it reaches. It is not. University of Minnesota Extension advises using extension cords only short term, not to run power to a coop, and keeping all wires away from poultry, water, and flammable litter to prevent damage, shocks, or fires (University of Minnesota Extension).
Mains AC wiring, sockets, and breakers for a permanent coop circuit are outside what this guide covers; that work belongs to a licensed electrician and your local code official, especially given the moisture, dust, and flammable bedding in a coop (University of Minnesota Extension). Low-voltage DC-powered options don’t carry the same installation requirements and are worth considering if you want heat without opening up a mains circuit question at all. For a deeper look at fire-safe heater setups in general, see The DIY Chicken Coop Heater That Won’t Start a Fire.
Powering a Heater Without a Wall Outlet
Coops set up away from the house, in a shed or a back corner of the yard, don’t always have power run to them. A small off-grid solar setup sized for low-wattage loads, such as coop lighting or a small heater, works on the same principle as the panel-and-battery approach behind running a fan through a heat wave (Backyard Freedom Lab, 2026-07-15); the sizing logic carries over from summer cooling loads to a winter heating load.
Whether a given solar setup can carry a heater through an entire winter depends on panel size, battery capacity, and how many consecutive gray days your region gets. A system sized only for lighting will not have the headroom for a heating element without adding capacity. Size the system to the heater’s rated wattage plus a margin for cloudy stretches, not to what worked for a smaller summer load.
Backup Methods for When the Power Fails
Not every setup needs, or wants, a powered heater. The mechanical measures already covered, a black rubber tub, a deeper container with a smaller opening, and a water change twice a day, work as a full backup plan when the power goes out, or as your only plan if you would rather not run a cord to the coop at all. None of them require electrical work, which makes them the right starting point for small flocks or renters who can’t modify the coop’s wiring.
The tradeoff is time. A heated waterer, once installed and inspected, largely removes the daily ice-breaking chore. The mechanical approach trades that labor savings for zero electrical risk and no equipment cost beyond the container itself.
This is also the setup that travels. A rubber tub and a twice-daily routine work the same whether the coop sits against the house or at the back of a rented yard with no outdoor outlet, and nothing about it requires permission from a landlord or a permanent change to the structure. If you later decide to add a heater, the mechanical backup doesn’t go away; it becomes the fallback for the day the power or the unit itself fails.
Keeping Water Lines From Freezing on the Way to the Coop
If you run a hose or a fixed line out to the coop instead of hand-carrying buckets, the line itself is a second freeze point, and often the first thing to fail before the waterer does. Disconnect and fully drain a garden hose after each use rather than leaving standing water in it overnight; a hose left full can be damaged as the water inside freezes and expands (NMSU Extension). A short, insulated line dedicated to winter use, drained back to a low point after each fill, is more reliable than trying to keep a full-length garden hose thawed all season. For most backyard setups, hand-carrying water from an indoor tap in a sealed container is simpler and more failure-resistant than any outdoor line, even if it means more walking.
Twice-Daily Water Runs vs. Buying Heated Gear
Whether to keep hauling water or invest in heated equipment comes down to flock size, how cold your winters actually get, and how much daily time you have. A small backyard flock in a region with occasional hard freezes can usually get by on twice-daily changes plus the mechanical measures above; the upfront cost is zero, and the daily cost is a few minutes twice a day. A larger flock, a longer stretch of sub-freezing weather, or a schedule that doesn’t allow for a reliable second daily check is where a properly installed heated waterer earns its keep, since it removes the failure mode of a missed visit turning into a full day without water.
There is no wrong answer here as long as the water stays liquid and accessible. The deciding factor is which failure mode, a missed hauling trip or a wiring mistake, you are better set up to avoid.
Start with placement and container shape, since both cost nothing and solve a real share of the problem on their own. Add a heated waterer once you know the wattage you need and have the wiring done to code, and keep a mechanical backup, deep container, dark color, twice-daily check, in reach regardless of what else you run.
Frequently Asked Questions
- What's the safest way to keep chickens' water from freezing in sub-zero weather?
- Combine a draft-protected but ventilated spot for the waterer with a deeper, dark-colored backup container, and add a correctly sized heated base or plug-in heated waterer wired according to the manufacturer's instructions and basic electrical safety practice. Design and modest heat, not sheer water volume, are what keep the water usable.
- Are plug-in heated waterers safe to use inside a coop full of bedding?
- They can be, but only when installed carefully. Heated bases and plug-in heaters must follow manufacturer instructions, and University of Minnesota Extension advises keeping all wires away from poultry, water, and flammable litter, using extension cords only short term rather than to run power to the coop, and working with a professional electrician for any coop wiring.
- Can a small solar setup realistically power a heated waterer all winter?
- A small off-grid solar system can support low-wattage loads like coop lighting or a small heater, the same category of setup used for things like a small fan. Whether it carries a heater through an entire winter depends on panel size, battery capacity and how many low-sun days your region gets.
- Is it better to bring water in twice a day or invest in heated gear?
- Both work. Twice-daily water changes plus a deep, dark-colored container cost nothing upfront and are a reasonable baseline for smaller flocks or milder cold. A properly installed heated waterer costs more upfront and requires safe wiring, but it removes the risk of a missed visit turning into a full day without water.
Sources & references
Before you go
The Renter's Homestead Pack
Self-reliance projects for the yard you don't own — container yields, a raised bed built to move with you, balcony preservation basics, and the landlord questions to ask first.
Free guide
The Renter's Homestead Pack
Self-reliance projects for the yard you don't own — container yields, a raised bed built to move with you, balcony preservation basics, and the landlord questions to ask first.